Amazon Picks for Storage Solutions for Renovation & Remodeling That Increase Property Value (Winter, December, Year-End)
Materials Needed
Safety Tips
- Consult a licensed contractor if altering load-bearing walls or unsure about structural changes.
- Always wear safety goggles and gloves when handling power tools and sharp materials.
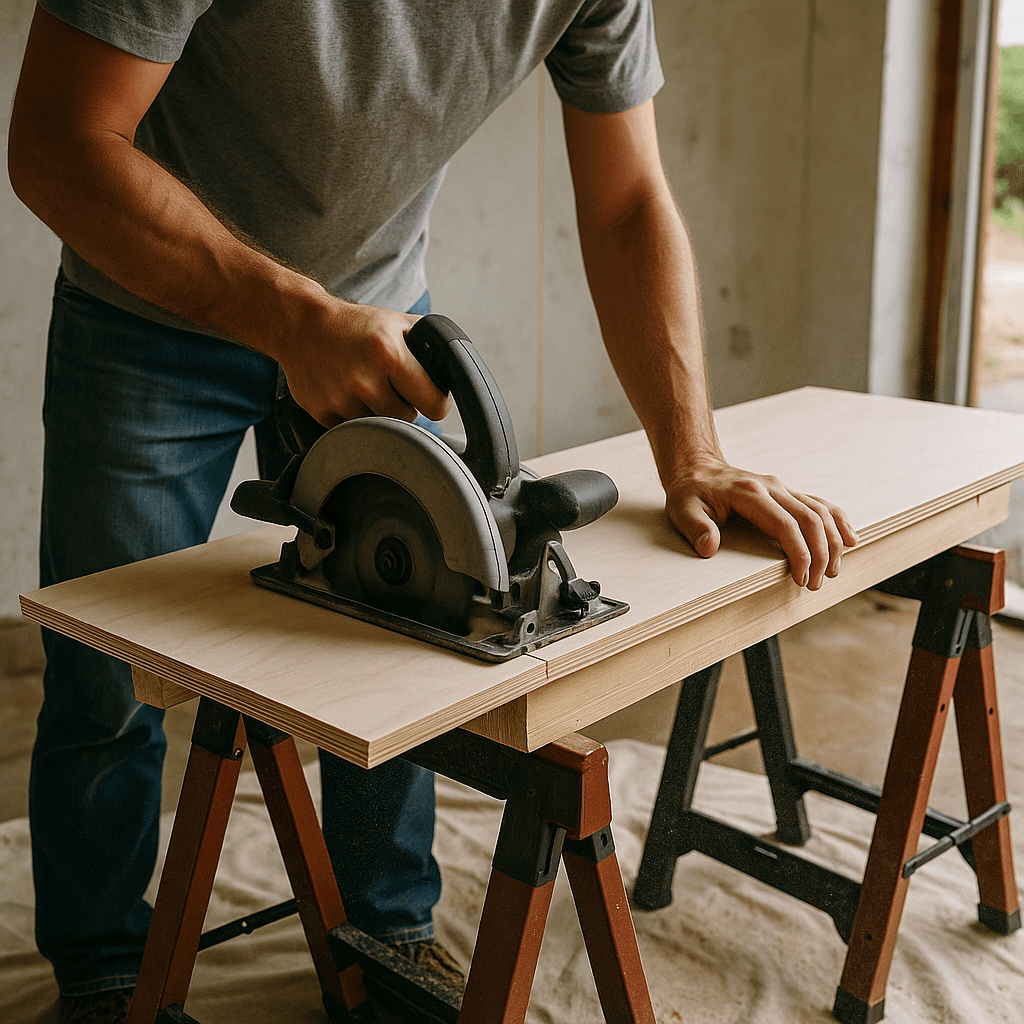
- Use proper tools like a power drill for safer and more efficient installation.
- Check for hidden electrical wiring or plumbing before drilling into walls or floors.
Amazon Picks for Storage Solutions for Renovation & Remodeling That Increase Property Value
As someone who has tackled various renovation projects, I can vouch for how crucial effective storage solutions are during any remodeling endeavor. Storage isn’t just an afterthought; it’s the backbone of a successful project. Here’s what I’ve learned about integrating smart storage solutions that not only help during renovations but also boost your property value.
Quick Answer
To enhance your storage during renovations, go for modular shelving systems, under-stair storage, or built-in cabinets. These options maximize space without sacrificing style, keeping your workspace organized and making your remodel smoother and more efficient.
Experience Context
I still remember my first big renovation: converting my attic into a cozy office. I had this grand vision but underestimated storage needs. Halfway through, I was knee-deep in tools and paint cans. I hesitated to pause and rethink my strategy, thinking I could manage the mess later. Surprise! The clutter made it impossible to work efficiently, forcing me to trade off between finishing on time and having a functional space. Planning for storage early saved me a lot of headaches.
Before You Start
Before diving into your renovation, keep these key points in mind:
- Space Assessment: Measure your area to know what will fit. I’ve seen many DIYers underestimate storage needs.
- Functionality: Think about how you will use the space. Storage should facilitate your workflow, not hinder it.
- Style: Choose solutions that complement your design aesthetic. Functionality doesn’t have to sacrifice style.
- Permits: Confirm any necessary permits and structural work. Some renovations require professional oversight, especially when altering load-bearing walls.
Method Overview
For this project, we’ll focus on three main types of storage solutions:
- Modular Shelving: Flexible and customizable, ideal for various spaces.
- Under-Stair Storage: Utilizes often-wasted space cleverly.
- Built-in Cabinets: Offers a seamless look and maximizes storage.
These methods might not be suitable for very small areas or where local building codes restrict options. Always assess your space before committing.
Deep Steps
Here are the concrete steps for implementing these storage solutions:
- Evaluate Your Space:
- Measure the dimensions of the area where you want to add storage. I used a tape measure and noted everything down. For my attic, it measured 20 feet long and 15 feet wide, with a sloped ceiling peaking at 10 feet. I had to account for that slope when planning shelving.
- Choose Your Storage Solutions:
- Decide between modular shelving, under-stair storage, or built-in cabinets based on your measurements and needs. I opted for modular shelving in my attic because it was easy to install and adjustable as my needs changed.
- Purchase Materials:
- Gather all necessary materials. For modular shelving, you’ll need brackets, shelves, screws, and a level. I learned the hard way that investing in high-quality materials pays off; buying cheap can lead to issues later on.
- Installation:
- Mark where the brackets will go and use a level to ensure they’re straight. My first shelf was crooked, and I had to take it down and redo it. Don’t skip this step!
- Organize Your Items:
- As you install the shelves, think about how to organize your items. I grouped similar items together for efficiency; one shelf was dedicated to office supplies and another to tools.
- Final Touches:
- Consider adding decorative elements or labels for a tidy look. I used chalkboard labels on my bins, which not only looked great but helped me find things quickly.
Decision Points
When I was choosing storage solutions, I faced several key decisions:
- Modular vs. Built-in: I chose modular shelving for flexibility and cost-effectiveness. Modular systems can be adjusted or expanded as needs change, while built-ins are more permanent.
- Material Choices: I went with plywood instead of MDF for durability. MDF is cheaper but can sag under weight.
- Open vs. Closed Storage: I opted for open shelving to allow easier access to frequently used items, while closed storage can be a hassle during busy projects.
Troubleshooting & Fix-ups
Even the best-laid plans can hit snags. Here are common issues I faced and how I fixed them:
- Problem: Shelves sagging under weight.
- Fix: I reinforced the shelves with additional brackets in the center, distributing the weight more evenly.
- Problem: Items falling off shelves.
- Fix: I installed a simple lip on the front of the shelves using a strip of wood to keep items from sliding off too easily.
- Problem: Uneven installation.
- Fix: I used a level on every bracket to ensure everything was straight. If something is off, adjust it right away!
- Problem: Difficulty accessing items in the back of deep shelves.
- Fix: I added pull-out baskets to the deeper sections, making it easy to reach everything without digging through.
Common Mistakes & How to Avoid Them
I made some mistakes you can avoid:
- Underestimating Space Needs: Always overestimate storage requirements. It’s better to have too much than not enough.
- Ignoring Load-Bearing Walls: Know which walls you can alter. If you're unsure, consult a pro before starting.
- Choosing Incompatible Materials: Ensure your storage materials suit the environment (e.g., moisture-resistant for bathrooms).
- Skipping the Planning Stage: Take time to sketch out your ideas before buying materials. A simple plan can save you time.
Safety Tips
- Consult a Pro: If you're unsure about structural changes, especially with load-bearing walls, consult a licensed contractor.
- Use Proper Tools: Always use the right tools. A power drill is safer and more efficient than manual options for shelving installation.
- Wear Safety Gear: Use goggles and gloves when handling power tools and sharp materials.
- Check for Electrical or Plumbing: Before drilling into walls or floors, ensure you’re not hitting hidden pipes or wires.
Budget & Time Ranges
Costs for storage solutions vary widely based on materials and complexity:
- Modular Shelving: $50-$300, depending on size and materials.
- Built-in Cabinets: $500-$2000, influenced by design and installation.
- Under-Stair Storage: $200-$800, depending on complexity and materials.
Factors that drive costs up include custom designs or materials, hiring a professional for installation, and additional features like lighting.
Stop & Call a Pro
Know when to step back and call in a professional:
- Structural Changes: If you’re altering load-bearing walls, consult a pro.
- Permits: If permits are required, it’s best to work with a licensed contractor.
- Complex Installations: If you’re uncomfortable using power tools or if the project exceeds your skill level, don’t hesitate to hire help.
What I’d Do Differently If I Did This Again
If I had to redo my storage project, here’s what I’d change:
- Skip the Unnecessary Step: I wouldn’t worry about painting the shelves until after installation. It’s easier and less messy that way.
- Earlier Step: I’d create a detailed inventory of what I planned to store before designing the shelving.
- Tool Upgrade: I’d invest in a better-quality drill for quicker installation and more precise holes.
- Surprise: I didn’t expect how much dust would accumulate during the project. I’d wear a mask and cover the area better next time.
Implementing smart storage solutions can make your renovation smoother and increase your property value. With careful planning and execution, you can create a space that is both functional and attractive. Happy DIYing!
Recommended Gear
Disclosure: As an Amazon Associate, we may earn from qualifying purchases at no extra cost to you.
Common Mistakes
- Underestimating storage space requirements leading to clutter and inefficiency.
- Ignoring load-bearing walls and structural considerations causing safety risks.
- Choosing incompatible materials that may sag or degrade in certain environments.
- Skipping the planning stage and not sketching ideas before purchasing materials.

)