Beginner's Guide to Cleaning Essentials for Beginner DIY Guides Your Neighbors Will Notice (Winter, December)
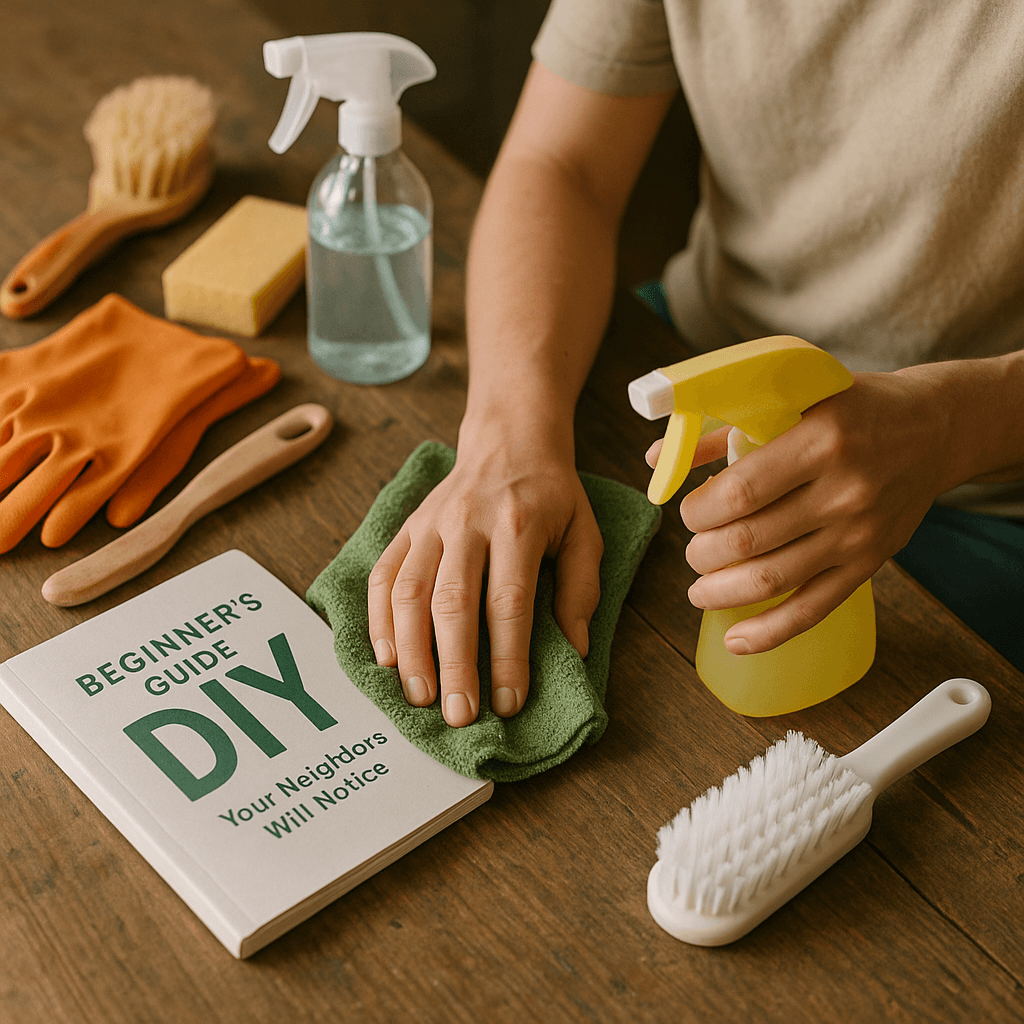
Materials Needed
Safety Tips
- Always wear gloves and a mask when handling strong cleaning chemicals.
- Follow product instructions carefully for safe and effective use.
- Use PPE to protect yourself from dust and chemical exposure.
- Avoid cleaning windows in direct sunlight to prevent streaking.
- Use cleaners suitable for the specific materials to avoid damage.
Before You Start / What to Know Up Front
Welcome to the world of DIY! If you’re a new DIYer, you might be feeling a mix of excitement and a little bit of anxiety. Don’t worry; we’ve all been there. I remember when I first decided to tackle cleaning my home before winter set in. I was overwhelmed by the sheer amount of stuff that needed to be done, and I didn’t know where to start. But once I broke it down into manageable tasks, I started to see progress, and it felt great.
This guide is for anyone looking to spruce up their home during the winter months—especially in December when the holiday spirit is in full swing, and you want your home to look its best for family and friends. By the end of this guide, you’ll have a solid cleaning routine that not only gets your space tidy but also makes you feel accomplished. You'll be prepared to tackle those projects that neighbors will notice and appreciate.
Before you dive in, remember: start with a small scope. There’s no need to clean every nook and cranny in one go. Also, always wear basic personal protective equipment (PPE) like gloves and a mask, especially if you’re dealing with strong cleaners. And don’t forget to follow the manuals for any tools you use. Safety first! Let’s get started!
Method Overview
The approach we’ll take for cleaning this winter is straightforward and systematic. We’ll break down the cleaning tasks into different zones—starting with high-traffic areas and moving to less frequented spots. This method works well because it allows you to focus on one area at a time, making the task less daunting.
When you’re cleaning, it’s crucial to think about the materials you’re using. For instance, some cleaners are great for general surfaces but terrible for delicate ones. Always check if the cleaner is suitable for the material you’re working with. This method is not a one-size-fits-all; if you’re dealing with specialized materials or heavy-duty grime, you might need a different approach, but for most home cleaning tasks, this will serve you well.
Deep Step Detail
Now, let’s get into the nitty-gritty of cleaning. Here’s a step-by-step guide to help you clean your home efficiently:
Step 1: Gather Your Supplies
Before you start cleaning, gather your supplies. Here’s what you’ll need:
- All-purpose cleaner
- Glass cleaner
- Microfiber cloths or rags
- A broom, mop, and vacuum
- A bucket
Make sure you have everything ready so you don’t waste time running back and forth. The first time I did this, I forgot my mop and had to make multiple trips, which doubled my cleaning time! So, take a moment to check your supply list before you begin.
Step 2: Dust High Surfaces First
Start by dusting ceiling fans, light fixtures, and shelves. Use a microfiber cloth to trap the dust instead of just moving it around. This matters because any dust you knock loose will eventually settle back down, and you want to clean it all in one go. I often use an extendable duster for hard-to-reach areas, which makes the job much easier. A common mistake is to neglect these high areas, leading to dust falling onto freshly cleaned surfaces later.
Step 3: Clean Windows and Mirrors
Next, tackle your windows and mirrors. Spray your glass cleaner on the surface and wipe with a clean, dry microfiber cloth. This will help ensure no streaks are left behind. Make sure you don’t clean windows on a sunny day; the heat can cause the cleaner to dry too fast, resulting in streaks. If you do find streaks, a quick remedy is to use a solution of vinegar and water for a crystal-clear finish.
Step 4: Wipe Down Surfaces
Take your all-purpose cleaner and spray it on countertops, tables, and other surfaces. Use a clean cloth to wipe them down, paying extra attention to high-touch areas like light switches and doorknobs. This step is crucial for keeping germs at bay, especially in the winter months when colds and flu are more prevalent. Many DIYers tend to overlook these spots, which can harbor germs.
Step 5: Floors Last
Finish by cleaning your floors. Sweep or vacuum first to pick up any dust or debris, then mop with a suitable cleaner for your floor type. If you have hardwood, make sure to use a cleaner specifically designed for it. I learned the hard way that using the wrong cleaner can damage the finish of hardwood floors. If you encounter stubborn stains, consider using a steam mop for deeper cleaning—just be cautious with the heat settings to avoid warping.
Troubleshooting & Fix-ups
Even the best-laid plans can go awry! Here are some common problems you might run into and how to handle them:
Problem: Streaky Windows
If your windows end up streaky, it could be due to cleaning them in direct sunlight or using a dirty cloth. To fix this, try cleaning them again with a fresh cloth and a mixture of vinegar and water. This is a trick I learned from my grandmother, and it works wonders!
Problem: Dust Still Visible
If dust seems to linger after you’ve cleaned, double-check your cloth. If it’s too dirty, it won’t pick up any more dust. Swap it out for a clean one and give the area another wipe down. It’s easy to overlook this detail, but it can make a big difference in the overall cleanliness.
Problem: Floor Grime
If your floors still look dirty after mopping, it might be time to use a deeper cleaner. Sometimes, a simple mop isn’t enough for tough stains or grime build-up. In that case, consider a steam mop or a specialized floor cleaner. Remember, investing in quality cleaning tools can save you time and headaches later on.
Common Mistakes & How to Avoid Them
As a DIYer, you’ll inevitably make a few mistakes along the way. Here are some common ones I’ve seen and how to avoid them:
- Skipping Dusting: Many people jump straight to mopping or vacuuming without dusting first. Dust settles on surfaces; if you clean the floors first, you’ll just have to clean them again! Always start from the top and work your way down.
- Using Too Much Cleaner: It might feel like more cleaner means a cleaner surface, but that’s not true. Using too much can leave a residue behind, making your surfaces sticky. Just a light mist or a small amount goes a long way. Less is often more in cleaning.
- Not Following Product Instructions: Always read the labels on your cleaning products. Some need to sit for a few minutes to be effective, and ignoring this can lead to subpar results. It’s always best to take a moment to ensure you’re using them correctly.
- Cleaning in the Wrong Order: If you start with floors and move up, you’ll end up with dust and debris falling onto freshly cleaned surfaces. Always clean from top to bottom to avoid this common pitfall.
- Forgetting to Rinse: After using all-purpose cleaners, some people forget to wipe down surfaces with water afterward. This can leave a chemical residue that’s not safe, especially around food. Make it a habit to follow up with a damp cloth for safety.
Pro Tips & Lessons Learned
Here are some smaller tricks I’ve learned over the years that can save you time, money, and frustration:
- Use a Squeegee for Windows: If you live in a place where it rains frequently, investing in a squeegee can make cleaning your windows easier. I use mine every time I clean the windows; it prevents streaks and makes the job go faster.
- Label Containers: If you have various cleaning supplies, label them. This way, you won’t waste time searching for what you need. I started doing this after I lost track of my favorite all-purpose cleaner more than once.
- Baking Soda for Tough Stains: If you encounter tough stains on countertops or sinks, sprinkle some baking soda on the area, let it sit for a few minutes, and then scrub. It’s a natural cleaner that works wonders!
- Keep a Cleaning Schedule: Keeping a routine can help you stay on top of cleaning tasks. Mark your calendar for monthly deep cleans and weekly touch-ups. I find that having a plan keeps me accountable and makes cleaning less overwhelming.
- Involve the Family: Don’t hesitate to get family members involved. Assigning tasks can make cleaning feel less like a chore and more like a family project. This not only lightens your load but also teaches everyone the value of a clean home.
Budget & Time Signals
When you’re planning your cleaning projects, it’s essential to consider your budget and time. Here’s what you can expect:
- Time: For a thorough cleaning of a standard living area, expect to spend about 2-3 hours. If you’re tackling multiple rooms, you might want to split it into two days. I often find that if I try to do it all at once, I lose steam halfway through! Pace yourself for better results.
- Budget: Cleaning supplies can range from $20 to $100, depending on what you already have. Generally, an all-purpose cleaner, glass cleaner, and a few cloths will set you back about $30. If you need specialized products or equipment, like a steam cleaner, that can push your costs higher. Keep an eye out for sales on these items.
- Phasing: You don’t have to do everything at once. If you’re tight on time or budget, consider phasing your cleaning tasks over a week or two. This way, you can spread out costs and avoid burnout. It’s about making progress without overwhelming yourself.
When to Call a Pro
While DIY cleaning can be rewarding, there are times when it’s best to call in a professional. Here are some thresholds to consider:
- Severe Mold or Mildew: If you encounter significant mold or mildew, especially in a bathroom or basement, it’s best to call a pro. Mold can pose health risks, and professionals have the right tools and expertise to handle it safely.
- Deep Carpet Cleaning: If your carpets are heavily stained or worn, consider hiring a carpet cleaning service. They have industrial-grade equipment that can restore your carpets better than home cleaners.
- Heavy Duty Grime: If you’re dealing with grease build-up in your kitchen or particularly tough stains, a professional cleaner can save you a lot of time and frustration. Sometimes, it’s worth the investment for a job well done.
Conclusion
Congratulations! You’ve taken the first steps toward making your home shine this winter. Remember that cleaning doesn’t have to be a monumental task; breaking it down into manageable steps makes it much easier. By following this guide, you’ll have a clean home that not only looks great but feels great too.
As a next step, pick one area in your home that needs attention and tackle it this week. You’ll be amazed at how a little effort can transform your space. Happy cleaning!
Recommended Gear
Disclosure: As an Amazon Associate, we may earn from qualifying purchases at no extra cost to you.
Common Mistakes
- Skipping dusting and starting with floors, which causes dust to resettle.
- Using too much cleaner, leaving sticky residue on surfaces.
- Not following product instructions for proper cleaning.
- Cleaning in the wrong order, leading to re-cleaning surfaces.
- Forgetting to rinse surfaces after using all-purpose cleaners.

)