Complete Checklist for Garage Upgrades for Home Repair & Maintenance for Small Spaces (Winter, December, Year-End)
)
Materials Needed
Safety Tips
- Wear a dust mask and safety goggles when handling insulation or dusty items.
- Use gloves to protect your hands when lifting heavy objects or working with tools.
- Comply with local building codes and permit requirements when making structural changes.
- Check for electrical hazards before installing lighting and call a professional if unsure.
Complete Checklist for Garage Upgrades for Home Repair & Maintenance for Small Spaces (Winter, December, Year-End)
Winter is creeping in, and with it comes the need to prepare your garage for the cold months ahead. If you’re like me, your garage can quickly become a catch-all for everything from tools to holiday decorations. This year, I’m here to guide you through a comprehensive upgrade process that will make your garage more functional and give it a professional finish. So, let’s dive right in!
Quick Answer
To upgrade your garage this winter, focus on organizing tools, improving insulation, and ensuring proper lighting. Start by decluttering, then install shelving, and finally, consider adding a heater if you work in the garage during colder months. This creates a versatile and inviting space.
Before You Start
Before you jump into the upgrades, decluttering is often underestimated. Many think they can just add shelves and organize their tools without first getting rid of what they don’t need. I learned the hard way that this leads to wasted time and resources. Also, consider the space limitations of your garage. If you have a smaller garage, every inch counts, so planning is essential.
Method Overview
I recommend a three-step approach: declutter, organize, and optimize. Start with a thorough clean-out, move on to smart organization, and finally enhance the space for usability. However, this method isn’t always a fit if your garage is already well-organized or if you’re primarily looking for cosmetic changes rather than functional upgrades.
Deep Steps
- Declutter Your Garage
- Set aside a day to go through everything. Use clear bins for items you want to keep.
- I set up three bins labeled "Keep," "Donate," and "Toss." After this process, I filled two bins with items to donate and filled the trash can twice!
- Install Shelving
- Choose your shelves: You can go with adjustable or fixed options. I opted for adjustable shelves for flexibility.
- Standard shelving brackets can hold up to 50 pounds per shelf, so make sure to measure your wall space accurately.
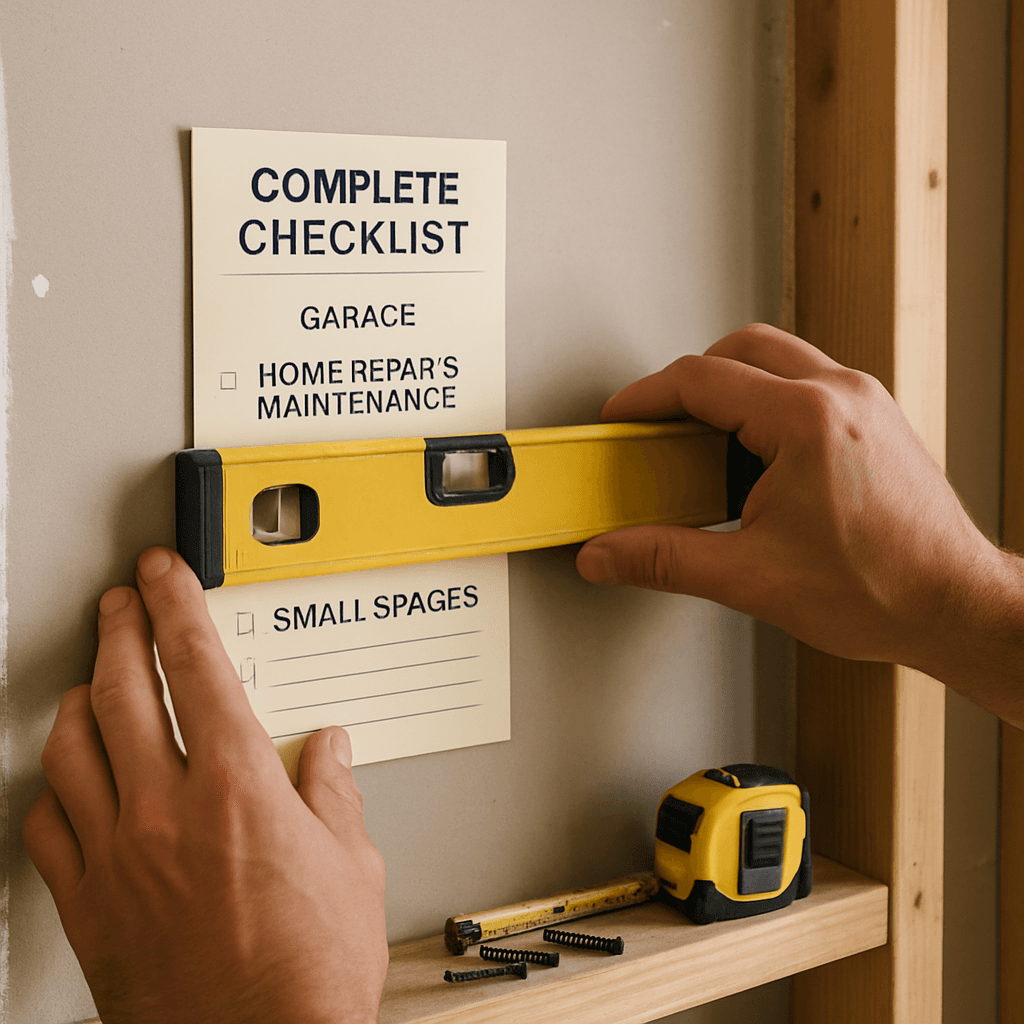
- Installation Tip: Use a level to ensure your shelves are straight. I learned this the hard way when I installed one shelf slightly crooked, and it ended up wobbling.
- Improve Insulation
- Materials needed: Rigid foam boards or fiberglass insulation.
- Cut insulation to fit snugly between studs in the walls. I also added weather stripping to the garage door to seal off drafts.
- Proper insulation can save on heating costs and make the space more comfortable.
- Upgrade Lighting
- Options: LED strip lights or motion-sensor lights.
- I went with LED strip lights for energy efficiency and bright illumination. Mount them under shelves for optimal brightness.
Decision Points
- Shelving Type: I chose adjustable shelving over fixed shelving because it allows me to change the arrangement as my needs evolve. Fixed shelving can be cheaper but less flexible.
- Insulation Material: I opted for rigid foam boards over fiberglass because they are easier to install and provide better moisture resistance, which is critical in a garage.
- Lighting Solution: I chose LED lights instead of fluorescent tubes mainly due to their longevity and energy efficiency. While fluorescent might be cheaper upfront, LED lights save on electricity bills over time.
Troubleshooting & Fix-ups
- Shelves Not Level: If your shelves are wobbling, check if the brackets are installed correctly. Adjust the brackets until they are even, then re-tighten the screws.
- Garage Door Drafts: If you feel cold air seeping in, check the weather stripping. If it’s worn out, replace it with new weather stripping, ensuring you measure the door correctly for a snug fit.
- Lighting Flickering: If your LED lights flicker, it may be due to a poor connection. Check all wiring and ensure that connectors are tight and secure. If you’re unsure, consult a pro.
- Insulation Not Sealing: If you notice cold spots, double-check your insulation fit. Remove the insulation and re-cut it if it doesn’t fit snugly between the studs.
Common Mistakes & How to Avoid Them
- Overloading Shelves: Be mindful of the weight limit on your shelves. I once overloaded a shelf with tools, and it collapsed, causing damage. Always check the weight capacity and distribute weight evenly.
- Ignoring Ventilation: A common mistake is not considering airflow. I learned that adding a vent or a small fan can help reduce humidity and prevent mold, especially in winter.
- Rushing the Decluttering Process: Take your time to sort through items. I rushed once and ended up keeping things I later regretted. A good rule is to ask yourself if you’ve used an item in the last year.
- Skipping Safety Gear: Always wear gloves and a dust mask when handling insulation or heavy items. I didn’t wear gloves once and ended up with splinters!
Safety Tips
- Wear a dust mask and safety goggles when handling insulation or dusty items.
- Use gloves to protect your hands when lifting heavy objects or working with tools.
- Comply with local building codes and permit requirements. This is crucial if you’re making structural changes.
- Check for electrical hazards before installing lighting. If you’re unsure about electrical work, stop and call a pro.
Budget & Time Ranges
Upgrading your garage can vary widely in cost depending on your choices:
- Decluttering: Free if you do it yourself, but could cost $50-$100 for bins.
- Shelving: $50-$200 depending on materials and size.
- Insulation: $100-$300 based on the area and materials used.
- Lighting: $20-$150, depending on the type of lights you choose.
- Time: Expect to spend a weekend on decluttering and a couple of days on installation, depending on your experience level.
Stop & Call a Pro
- Electrical Issues: If you’re unsure about wiring or if you smell burning, stop immediately and call an electrician.
- Structural Changes: If you plan to remove walls or modify the garage structure, consult a pro to ensure safety and code compliance.
- Severe Water Damage: If you see significant signs of water damage or mold, call a contractor for a professional assessment.
What I’d Do Differently If I Did This Again
- Skip the Unnecessary Step: I wouldn’t spend time painting the walls before organizing. It was a waste since I ended up covering them with shelves.
- Earlier Step: I’d declutter even more before starting any installations. I found that some items ended up back in the garage post-upgrade.
- Tool Upgrade: I’d invest in a better stud finder. The one I used was outdated and caused me a few headaches when trying to install shelves.
- Surprise: I didn’t expect how much dust and debris would be stirred up during the process. I’d have a vacuum on hand to clean as I go.
By following this guide, you’ll have a well-organized and functional garage that meets your needs for winter and beyond. Taking it step-by-step will help you avoid common pitfalls, and don’t hesitate to reach out for professional help when needed. Happy upgrading!
Micro-Stories
1. The Overstuffed Garage
A homeowner named Lisa decided to tackle her overcrowded garage one Saturday. Instead of throwing everything into bins, she spent hours categorizing her items. Lisa found a forgotten set of golf clubs, unopened holiday decorations, and gardening tools buried under boxes. By creating clear labels and using a pegboard for hanging tools, she reclaimed not just space but also rediscovered her hobbies, feeling accomplished and ready for the next season.
2. The Insulation Dilemma
Mark faced freezing temperatures in his garage each winter, making it impossible to work on his car. After researching, he chose to insulate the garage door and walls. He initially used traditional batting insulation but realized the gaps led to drafts. Frustrated, he switched to advanced foam insulation, ensuring a perfect fit. The next winter, he was shocked to discover that he could work comfortably, even sipping coffee in a t-shirt while fixing his vehicle.
3. Lighting Woes
Sarah upgraded her garage lighting from a single bulb to LED strips. Initially, she underestimated the brightness needed and installed only two strips. After working on her bike one evening, she realized it wasn’t enough and had to struggle under dim light. She promptly added two more strips, transforming her workspace into a well-lit area. Now, she not only feels safer but can also tackle projects confidently without straining her eyes.
Additional Upgrades
1. Flooring Solutions
- Decision: Choose between epoxy, interlocking tiles, or concrete stain.
- Failure Mode: Slippery surfaces can increase the risk of accidents in winter.
- Exact Fix: Select textured finishes or mats designed to prevent slipping, especially in areas where water may accumulate.
2. Energy Efficiency
- Decision: Install energy-efficient windows or skylights for natural light.
- Failure Mode: Poorly sealed windows can lead to heat loss.
- Exact Fix: Ensure weather stripping is intact and consider double-glazed options for maximum energy retention.
Recommended Gear
Disclosure: As an Amazon Associate, we may earn from qualifying purchases at no extra cost to you.
Common Mistakes
- Overloading shelves beyond their weight capacity causing collapse.
- Ignoring ventilation leading to humidity and mold issues.
- Rushing the decluttering process and keeping unnecessary items.
- Skipping safety gear resulting in injuries like splinters.
More in Home Repair

