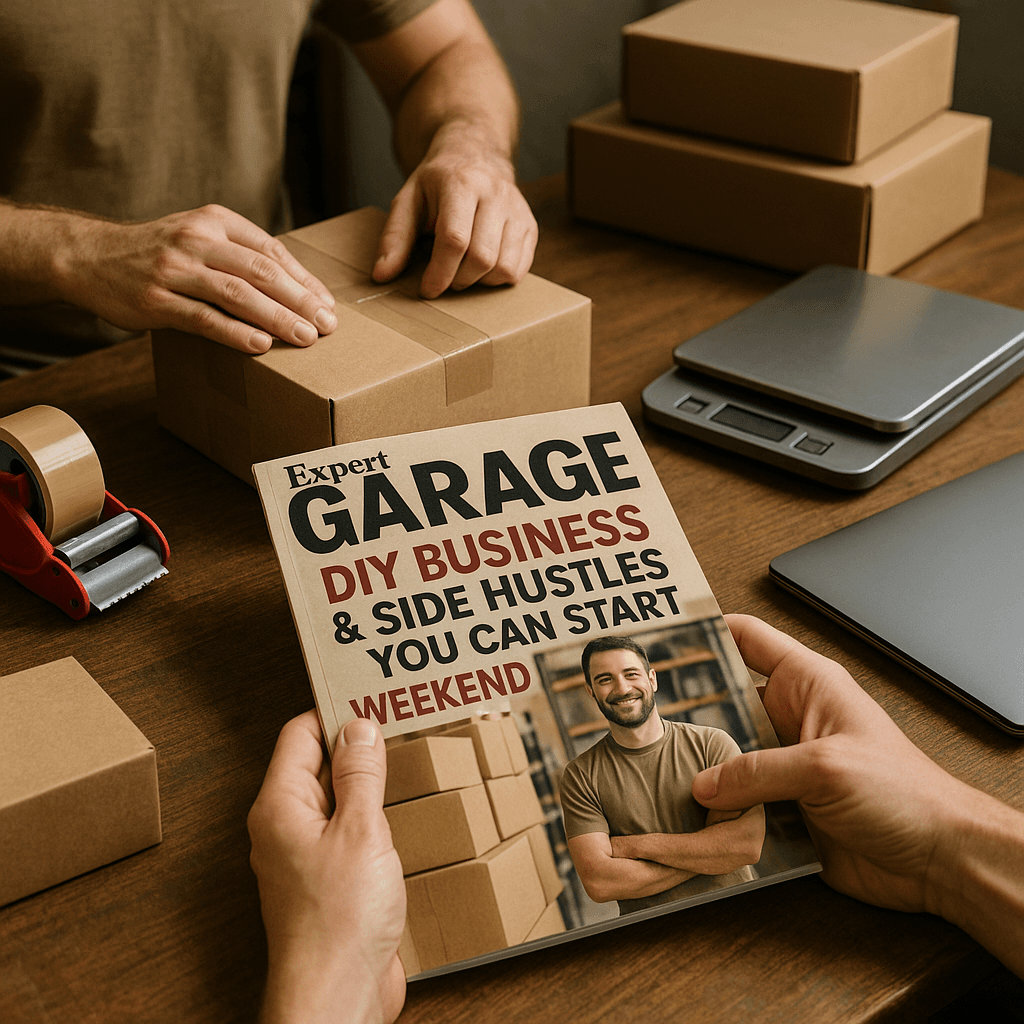
Expert Tips for Garage Upgrades for DIY Business & Side Hustles You Can Start This Weekend (Winter, December, Year-End)
)
Tools Needed
Materials Needed
Safety Tips
- Always wear safety goggles when cutting or sanding.
- Use a dust mask for projects that generate dust.
- Keep a fire extinguisher nearby, especially when working with flammable materials.
- Check electrical outlets and wiring before adding new lights or tools.
- Ensure proper ventilation when working with chemicals or dust.
Expert Tips for Garage Upgrades for DIY Business & Side Hustles You Can Start This Weekend (Winter, December, Year-End)
Transforming your garage into a workspace for your DIY business or side hustle can be a game-changer. Whether you’re crafting, woodworking, or running an online shop, an organized garage can set the stage for productivity. Here’s how I tackled my garage upgrade, along with lessons learned and tips for avoiding common pitfalls.
Quick Answer
To upgrade your garage for a DIY business, prioritize organizing tools, maximizing storage, and enhancing lighting. Create a layout that suits your activities while keeping safety top of mind.
Experience Context
When I first tackled my garage, I dove right in, purchasing shelves and bins without a solid plan. A few hours later, I stood amidst a chaotic mess, realizing I’d crammed too much into the space without considering my workflow. This taught me the hard way that planning is key—I ended up swapping out several initial purchases for better options that fit my layout needs.
Before You Start
Before rolling up your sleeves, think about these essentials:
- Space Planning: Measure your tools and materials to understand how much space you’ll need. Oversized purchases can lead to frustration.
- Lighting: Don’t skimp on lighting; it can make or break your productivity. A well-lit garage is not only safer but also more inviting.
- Ventilation: If you’re working with chemicals or generating dust, proper ventilation is crucial to maintain air quality.
- Flooring: Depending on your projects, durable and easy-to-clean flooring can save you headaches down the line.
Method Overview
I recommend a step-by-step approach focused on organization, functionality, and safety. Upgrading your garage isn’t just about looks; it’s about creating a productive environment. If heavy machinery or hazardous materials are involved, consider consulting a professional for layout and compliance.
Deep Steps
- Clear the Garage: Empty everything out to understand your space and what you truly need.
- Tip: Declutter while you’re at it. Donate or toss items you haven’t used in a year.
- Measure Your Space: Jot down the dimensions, noting door and window placements. This helps visualize your layout.
- Tools Needed: Tape measure, notepad, and pencil.
- Plan Your Layout: Sketch out zones for different activities, like tool storage and workspace.
- Tip: Use graph paper for easier visualization.
- Choose Storage Solutions: Go for wall-mounted shelves, pegboards, or rolling carts.
- Example: Pegboards are fantastic for keeping tools visible and accessible.
- Install Lighting: Bright LED lights can transform your workspace. Consider motion-sensor options for efficiency.
- Tip: Position lights over your workbench for optimal visibility.
- Create Work Zones: Define separate areas for tasks—woodworking, crafting, or shipping.
- Tip: Use floor mats to delineate spaces and add comfort.
- Organize Tools and Materials: Implement bins, labels, and drawer organizers to maintain order.
- Specific Measurement: Choose bins that fit your shelves to maximize space effectively.
- Install a Workbench: A sturdy workbench is a must. Build one if you can; it’s often more cost-effective.
- Example: A 4-foot by 2-foot workbench works well for most DIY projects.
- Ensure Safety Measures: Equip your garage with a fire extinguisher and first-aid kit. Don’t overlook ventilation.
- Tip: Regularly check smoke detector batteries if using electrical tools.
Decision Points
- Storage Solutions: I chose wall-mounted shelves over free-standing units. Why? They save floor space and keep tools at eye level.
- Lighting Options: I opted for LED lights instead of fluorescent. Why? LEDs last longer and provide better light quality.
- Workbench Material: I went with plywood rather than solid wood. Why? It’s budget-friendly and still durable.
Troubleshooting & Fix-ups
Even the best plans hit bumps. Here are some common issues and fixes:
- Problem: Shelves sagging under weight.
Fix: Reinforce with extra brackets or switch to heavy-duty shelving.
- Problem: Dark corners with poor lighting.
Fix: Add corner fixtures or LED strip lights for flexibility.
- Problem: Cluttered workbench.
Fix: Set a daily clean-up routine to keep things tidy.
- Problem: Tools rusting from humidity.
Fix: Use a dehumidifier or silica gel packets for moisture control.
Common Mistakes & How to Avoid Them
- Underestimating Space: Measure twice before buying storage. It’s easy to misjudge shelf sizes.
- Ignoring Safety: Always wear safety gear, especially eye protection with power tools.
- Rushing the Layout: Take your time planning. A hasty layout can waste space and disrupt workflow.
Safety Tips
- Always wear safety goggles when cutting or sanding.
- Use a dust mask for projects that create dust.
- Keep a fire extinguisher nearby, especially with flammable materials.
- Be mindful of electricity: Check outlets and wiring if adding new lights or tools.
- Disclaimer: Research local business licensing and insurance requirements before starting your home business.
Budget & Time Ranges
Your budget will vary based on choices:
- Storage Solutions: $50 - $500 depending on DIY vs. pre-made.
- Lighting: $30 - $150 based on fixture type and quantity.
- Workbench: $100 - $300 for purchased versions; DIY can save money but requires tools and time.
- Time Frame: Expect to spend 1-3 days for a complete upgrade, depending on your skill level.
Stop & Call a Pro
Consider calling a professional if:
- You’re doing major electrical work. Symptoms: Flickering lights, frequent blown fuses.
- Your garage foundation seems unstable. Measurements: Cracks larger than 1/4 inch.
- Installing heavy machinery without experience. Conditions: Uncertainty about weight limits or installation processes.
What I’d Do Differently If I Did This Again
- Skip the Unnecessary Step: I’d avoid the “temporary setup” phase; it was a waste of time.
- Move an Earlier Step: Planning lighting layout should come before purchasing fixtures to avoid returns.
- Upgrade Tools: Invest in a better-quality drill; my old one struggled with heavy-duty tasks.
- Prepare for Surprises: Set aside extra time for unexpected issues like wall repairs or storage adjustments.
Creating a functional garage for your DIY business or side hustle can be incredibly rewarding. By following these steps and preparing for potential hiccups, you’ll craft a space that fosters creativity and productivity. Happy DIYing!
Recommended Gear
Disclosure: As an Amazon Associate, we may earn from qualifying purchases at no extra cost to you.
Common Mistakes
- Underestimating space needs by not measuring before buying storage solutions.
- Ignoring safety gear such as eye protection when using power tools.
- Rushing the layout planning leading to wasted space and disrupted workflow.
More in Side Hustles