How to Garage Upgrades for Yard, Garden, & Outdoor DIY This Year (Winter, December, Year-End)
)
Materials Needed
Safety Tips
- Wear safety goggles and gloves when using power tools.
- Follow chemical label instructions and local regulations when handling chemicals.
- Keep a fire extinguisher in the garage, especially when using flammable materials.
- Use proper lifting techniques to avoid injury when handling heavy items.
How to Garage Upgrades for Yard, Garden, & Outdoor DIY This Year (Winter, December, Year-End)
Winter is often seen as a time to hibernate, but for DIY enthusiasts, it can be the perfect season to tackle garage upgrades that will make yard, garden, and outdoor projects much easier come spring. Whether you want to organize your tools, create a potting bench, or improve your garage's functionality, now is the time to prepare.
Quick Answer
To upgrade your garage for yard and garden projects, focus on organizing tools, creating dedicated workspaces, and ensuring you have easy access to all your outdoor supplies. Prioritize durable materials and weather-resistant storage solutions to get the most out of your upgrades.
Experience Context
I remember one winter when I decided to finally organize my garage for outdoor projects. I thought I was well-prepared, but I made a rookie mistake by underestimating how much time I'd need for my upgrades. I hesitated to start because I didn’t want to disrupt the flow of my garage. Then came the surprise: I found a whole box of tools I thought I'd lost! In the end, I had to choose between finishing quickly or sorting everything properly. I chose the latter, and while it took longer, it felt rewarding to have everything in its place.
Before You Start
Assess your available space before diving into garage upgrades. Many people underestimate how much room they will need for tools, supplies, and workspace. Measure your garage and plan your layout accordingly. Also, think about weather conditions; if you live in a place with extreme temperatures, consider insulation or heating solutions for your garage.
Method Overview
When upgrading your garage, I recommend a step-by-step organization and enhancement of workspaces. This involves:
- Decluttering - Get rid of any items you no longer need.
- Organizing tools - Use pegboards, shelves, and bins for easy access.
- Creating dedicated workspaces - Set up areas for potting, assembling, or repairing.
- Adding storage - Consider cabinets or wall-mounted storage solutions.
This method works best if your garage needs a little sprucing up but isn’t already well-organized. If you're looking for a complete renovation, this approach might not cover your needs.
Deep Steps
Here’s how I approached my garage upgrade:
- Declutter:
- Start by removing everything from your garage. Sort items into keep, donate, and trash piles. I found that 90% of my clutter was stuff I hadn’t used in years!
- Measure and Plan:
- Using a tape measure, I sketched a rough layout of my garage on graph paper. I allocated space for a potting bench, tool storage, and a workbench. Don’t forget to leave room for your car if you park inside!
- Organizing Tools:
- I invested in a pegboard system for hanging tools and labeled bins for smaller items. I used weather-resistant bins since they'd be exposed to the garage environment. Tip: Use clear bins for easy visibility. I also made sure to keep frequently used tools at eye level.
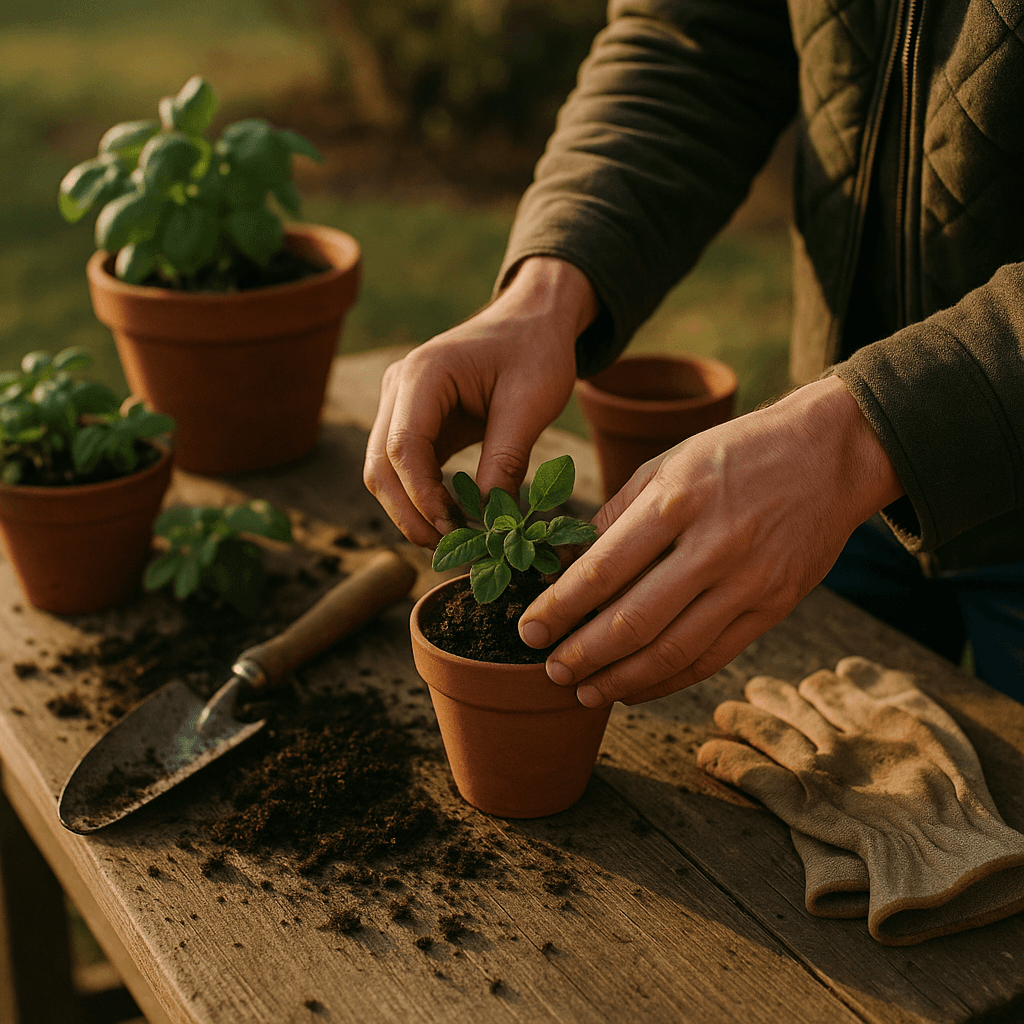
- Creating a Potting Bench:
- I built a simple potting bench using 2x4s and a plywood top, about 4 feet long and 2 feet wide, which fit perfectly in the corner of my garage. I secured it to the wall for added stability.
- Add a sink if space allows, or keep a bucket for easy clean-up.
- Storage Solutions:
- I installed shelves above the workbench for extra storage. I also added wall-mounted bins for soil and fertilizers, ensuring they were easily accessible.
- Consider weatherproof storage for items that need to be protected from moisture.
- Final Touches:
- Once everything was organized, I added hooks for ladders and garden hoses. I also painted the walls a light color to make the space feel brighter and more inviting.
Decision Points
During my garage upgrade, I faced several decision points:
- Pegboard vs. Shelving: I chose a pegboard system over traditional shelving because it allowed me to easily rearrange tools and keep them visible. Shelving can sometimes hide tools out of sight, making them harder to find.
- Weatherproofing: I opted for weather-resistant materials for my potting bench instead of regular wood. This was a slight cost increase, but it means the bench will last longer and won’t warp in the humid environment of my garage.
- DIY vs. Store-Bought Storage: I decided to build my own storage solutions instead of purchasing pre-made ones. This saved me money and allowed me to customize the dimensions to fit my needs.
- Tool Organization: Initially, I considered using drawers for tool storage but opted for bins instead. This choice allowed for better visibility and easier access, reducing the time I spent searching for items.
Troubleshooting & Fix-ups
Like any DIY project, there were a few hiccups along the way:
- Pegboard Tools Falling: At first, my tools were falling off the pegboard. I realized I hadn’t used the right hooks. I fixed this by purchasing heavy-duty hooks and ensuring they were tight.
- Potting Bench Too Low: After building the potting bench, I found it was too low for comfortable use. I added casters to the legs to raise it up, which turned out to be a simple fix.
- Bins Overloaded: Some of my bins started to sag under the weight. I addressed this by redistributing the contents into smaller bins and labeling them accordingly.
- Moisture Issues: I noticed signs of moisture on the walls. I installed a small dehumidifier to manage humidity levels, ensuring my tools and materials stay dry.
Common Mistakes & How to Avoid Them
When upgrading your garage, avoid these pitfalls:
- Underestimating Space: Measure everything and plan accordingly.
- Ignoring Ventilation: Ensure your garage is well-ventilated if you're working with chemicals or paints.
- Skipping Organization: Don’t just throw things in bins. Label and categorize.
- Not Considering Future Needs: Think about how your garage might be used in the future and plan accordingly.
Safety Tips
Prioritize safety when working in your garage:
- Use PPE: Wear safety goggles and gloves when using power tools.
- Follow Chemical Labels: Adhere to label instructions and local regulations for chemicals.
- Keep a Fire Extinguisher: Store one in your garage, especially if using flammable materials.
- Be Mindful of Heavy Lifting: Use proper lifting techniques to avoid injury, especially with heavy items.
Budget & Time Ranges
Costs and time for garage upgrades can vary widely based on your needs:
- Budget:
- Basic organization tools (shelves, bins): $100-$300
- Custom-built workspaces: $150-$500
- Weatherproofing materials: $50-$200
- Time:
- Decluttering and organizing: 1-2 days
- Building or setting up workspaces: 1-3 days, depending on complexity
- Final touches and adjustments: 1 day
Stop & Call a Pro
If you run into any of these issues, it might be time to call a professional:
- Structural Damage: If you notice cracks in the walls or ceiling that could affect the integrity of your garage.
- Severe Moisture Problems: If humidity levels are consistently high despite using a dehumidifier, it might indicate a larger issue.
- Electrical Problems: If you’re planning to add electrical outlets for tools and you’re not experienced, hire an electrician.
- Permitting Issues: If your upgrades require permits and you’re unsure of the process.
What I’d Do Differently If I Did This Again
If I had the chance to do my garage upgrades again, here’s what I'd change:
- Skip an Unnecessary Step: I wouldn’t spend as much time researching every single tool storage option; a few good choices would have sufficed.
- Earlier Step: Start with a clear-out and organization before planning the layout to see how much space I truly have.
- Tool Upgrade: Invest in a better-quality saw for building my potting bench; it would have saved me time and effort.
- Surprise: I would plan for better lighting from the start. Good lighting made a huge difference in the workspace.
Upgrading your garage for outdoor DIY projects can be a rewarding experience. With a little planning, the right materials, and an eye for organization, you’ll be ready to tackle any landscape or garden project that comes your way. Happy DIYing!
Recommended Gear
Disclosure: As an Amazon Associate, we may earn from qualifying purchases at no extra cost to you.
Common Mistakes
- Underestimating the amount of space needed for tools and work areas.
- Ignoring ventilation when working with chemicals or paints.
- Skipping proper organization by not labeling or categorizing items.
- Failing to consider future needs when planning the garage layout.
More in Yard & Garden