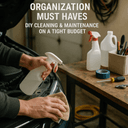
How to Outdoor Upgrades for DIY Cleaning & Maintenance for Long-Term Value (Winter, December)
Tools Needed
Materials Needed
Safety Tips
- Wear gloves and a mask to protect against chemicals and debris.
- Use safety goggles when operating a pressure washer.
- Ensure good ventilation when using bleach or strong cleaners.
- Start pressure washer at low PSI to avoid surface damage.
Before You Start / What to Know Up Front
Winter can be a tough time for outdoor spaces. The cold air, snow, and ice can wreak havoc on your home’s exterior and outdoor areas. I remember the first winter I faced this challenge; my patio furniture was covered in grime, and my walkways were a slippery mess. I thought, "How hard can cleaning be?" Well, it turns out, there’s a method to the madness!
This guide is for anyone looking to give their outdoor areas a thorough cleaning and maintenance check-up in preparation for the winter months. Whether you’re a seasoned DIYer or a beginner, you’ll find useful tips and step-by-step instructions to ensure your outdoor spaces remain in good condition. The expectations here are simple: we’ll tackle cleaning projects that not only make your home look great but also add long-term value by preventing damage from the harsh winter weather.
Method Overview
We’ll approach this project with a focus on effective cleaning techniques and preventative maintenance. This means we’re not just washing surfaces; we’re also ensuring everything is prepped to withstand the winter elements. This guide covers cleaning your outdoor furniture, walkways, and any other surfaces that might need attention.
Why does this work? Regular cleaning and maintenance help to prevent issues like mold, mildew, and deterioration. However, if you live in an area with extreme weather conditions or have specific materials that require special care—like natural stone or untreated wood—this method might not be the best fit. Always check product labels and consider your materials before diving in.
Deep Step Detail
Let’s get into the nitty-gritty of how to clean your outdoor spaces effectively. Here’s a detailed breakdown of the steps involved:
Step 1: Gather Your Supplies
Before you start, make sure you have everything you need. Here’s a quick list of items you should collect:
- A pressure washer or a hose with a spray nozzle
- Outdoor cleaner or a mixture of vinegar and water
- Stiff-bristled brush
- A broom and dustpan
- Gloves and a mask (for protection)
- Towels or rags
Having the right tools on hand will save you time and hassle. The first time I did this, I forgot the gloves and ended up with sore hands from scrubbing. Trust me, investing in a good pair of rubber gloves will pay off!
Step 2: Clear the Area
Take a moment to clear any furniture, planters, or decorations from the areas you’ll be cleaning. This not only protects your items but also gives you a clear workspace. I often set up a staging area nearby to keep everything organized. It’s amazing how much easier the job gets when you’re not tripping over stuff!
Step 3: Sweep and Remove Debris
Use your broom to sweep away leaves, dirt, and any other debris. Pay special attention to corners and tight spaces where dirt tends to collect. This is an important step because if you don’t remove the debris before washing, you might end up with muddy stains. I once skipped this step and regretted it when I had to redo the whole area.
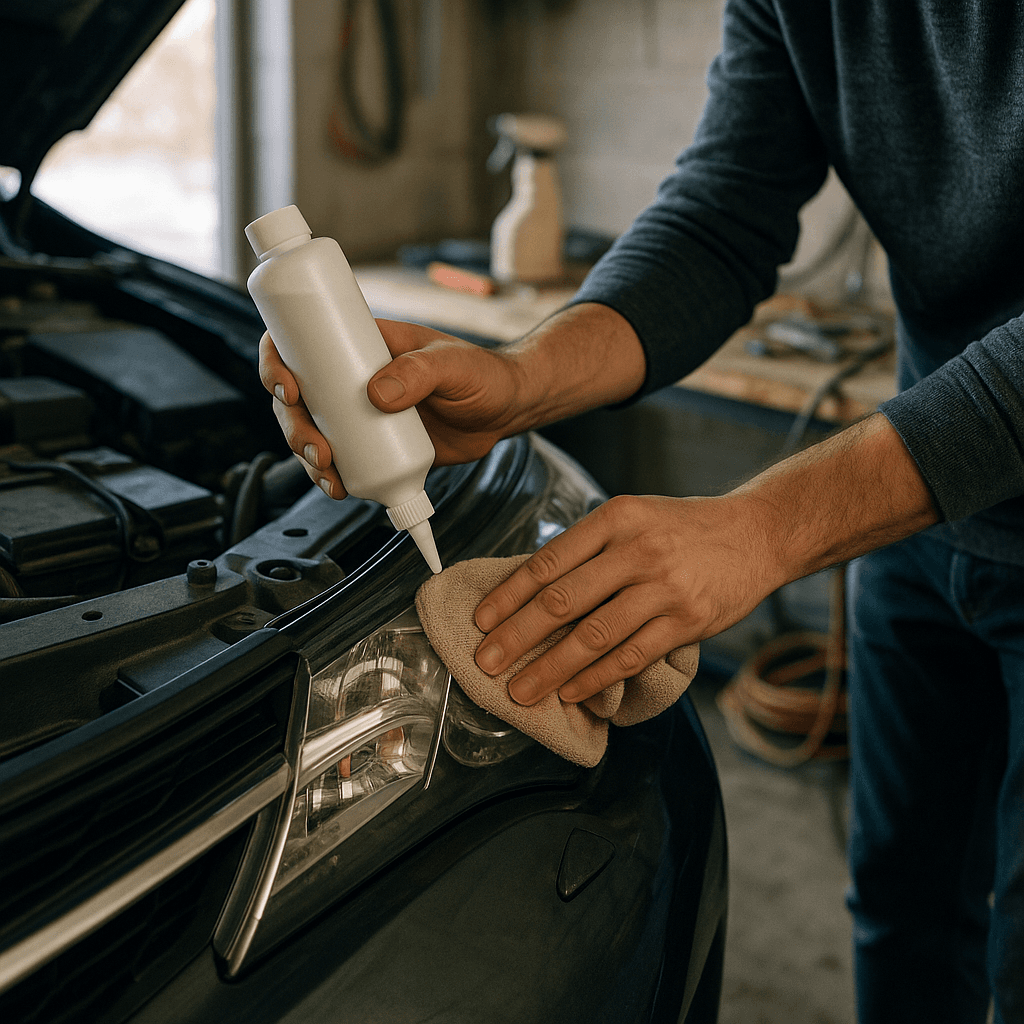
Step 4: Apply Cleaner
If you’re using a commercial outdoor cleaner, follow the instructions on the label. If you prefer a natural option, mix equal parts of vinegar and water in a spray bottle. Spray the cleaner generously over the surfaces you’re tackling. Let it sit for a few minutes to break down any grime or stains. I like to lightly scrub the surfaces with a brush while the cleaner is soaking in for extra effectiveness.
Step 5: Scrub the Surfaces
Using your stiff-bristled brush, scrub the surfaces in a circular motion. For large areas like patios, you might want to use a pressure washer for a quicker clean. Just be careful not to use too high of a setting, as it can damage softer surfaces. I recommend starting with a lower PSI, around 1500, and adjusting as necessary.
Step 6: Rinse Thoroughly
After scrubbing, rinse off the cleaner completely. If you used a pressure washer, remember to keep the nozzle at least 12 inches away from the surface to avoid damaging it. I learned the hard way that getting too close can lead to peeling paint or worse!
Step 7: Dry and Inspect
After rinsing, allow the surfaces to dry completely. This is crucial, as it helps prevent mold and mildew from forming. Once dry, inspect the areas for any signs of damage or wear that may need additional attention. I always turn this into a mini-checklist; it’s a great way to ensure nothing’s missed.
Troubleshooting & Fix-ups
Even the best-laid plans can go awry. Here are some common problems you might encounter and how to fix them:
- Stains Remain After Cleaning: If stubborn stains persist, you may need to repeat the cleaning process or invest in a stronger cleaner specifically designed for that type of stain. I once had a nasty oil stain on my patio that took two rounds of cleaning to finally disappear.
- Mold and Mildew: If you find mold or mildew, a mix of bleach and water can be effective. However, remember to wear gloves and a mask, and ensure the area is well-ventilated. Always test a small area first! The last thing you want is to damage the surrounding vegetation while trying to clean.
- Damaged Surfaces: If you notice any cracks or chips, consider applying a sealant or touch-up paint once the surface is clean and dry. This will help protect it from the elements. I like to keep some extra paint on hand for quick touch-ups.
Common Mistakes & How to Avoid Them
From my experience, there are a few common missteps that DIYers often make during outdoor cleaning and maintenance:
- Skipping the Sweeping Step: Many people jump straight to washing without clearing the area first. This can lead to muddy stains and make the whole job messier. Dedicate a few minutes to this step; it’s worth it!
- Using the Wrong Cleaner: Not every cleaner is suitable for every surface. For instance, acidic cleaners can damage stone surfaces. Always read the labels!
- Not Protecting Yourself: Many underestimate the need for gloves and masks when dealing with cleaners and pressure washers. Protect yourself from harsh chemicals and flying debris. A good pair of safety goggles isn’t a bad idea, either!
- Using Too Much Pressure: When using a pressure washer, too much pressure can damage wood or paint. Always start with the lowest setting and work your way up if needed. I’ve seen too many DIYers ruin their surfaces this way.
- Neglecting to Inspect: After cleaning, some folks forget to check for damage. Make it a habit to inspect surfaces for cracks, chips, or other issues that might need attention—catching these early means less costly repairs later.
Pro Tips & Lessons Learned
Here are some smaller tricks I’ve picked up along the way that can save you time, money, or frustration:
- Vinegar is Your Friend: For a natural cleaning solution, vinegar is incredibly effective against dirt and grime. It’s safe for most surfaces and is a great way to avoid harsh chemicals.
- Use a Garden Sprayer: If you have a large area to cover, consider using a garden sprayer to apply your cleaner more evenly. It saves time and effort!
- Check Weather Conditions: Before starting, ensure the weather is suitable for cleaning. Avoid windy days, as debris can blow back onto your clean surfaces. A sunny day with a light breeze is perfect!
- Plan for Drying Time: After rinsing, surfaces may need several hours to dry. Plan your cleaning project accordingly so you’re not rushing through the drying process.
- Maintain Regularly: Instead of waiting for winter, consider regular outdoor maintenance throughout the year. This can save you time and effort in the long run. Trust me, a little upkeep goes a long way!
Budget & Time Signals
When it comes to budgeting for these cleaning projects, here are some realistic ranges:
- Supplies: Expect to spend anywhere from $20 to $60 on cleaning supplies, depending on what you need. Natural cleaners like vinegar are inexpensive, while commercial options can be pricier.
- Time Investment: This project can take a few hours, depending on the size of the areas you’re tackling. Plan for at least 2-4 hours, especially if you’re working on larger surfaces.
Factors that can drive costs up include:
- The need for specialized cleaners or tools.
- Additional repairs if you find damage during your inspection.
You can phase this project by focusing on one area at a time. For example, tackle your furniture one weekend and move on to your walkways the next. It makes the task feel less daunting!
When to Call a Pro
While many outdoor cleaning jobs can be tackled by DIYers, there are instances where it’s best to call in a professional. Here are some clear thresholds:
- Severe Damage: If you find extensive damage, like deep cracks or structural issues, a professional can assess and repair these problems safely.
- Mold Remediation: If you encounter a significant mold issue, it’s best to call a pro who can handle hazardous materials safely.
- Large Areas: If you have a large property or multiple stories, hiring a pro can save you time and ensure the job is done efficiently. Don’t hesitate to ask for help when the task is too big for one person!
Conclusion
Cleaning your outdoor spaces during winter is an essential task that can save you from bigger headaches down the road. By following these steps, you’ll not only enhance the appearance of your home but also protect it from the harsh winter elements. Remember, a little elbow grease now can lead to long-term value and savings.
As a next step, pick one small area to start with today. Whether it’s your patio furniture or a walkway, just take that first step. You’ll feel accomplished and motivated to tackle more!
Happy cleaning!
Choosing the Right Cleaning Products
When selecting cleaning products for outdoor surfaces, consider eco-friendly options to protect your garden and local wildlife. For instance, a mixture of vinegar and water can tackle mold on decking without harsh chemicals. I once noticed my patio stones were slick with moss; a simple vinegar solution restored their grip and shine without damaging surrounding plants.
Surface Preparation
Before applying any cleaner, ensure the surface is free of debris. I recommend using a stiff broom or leaf blower for larger areas. If you're dealing with stubborn stains, a pressure washer can be a game-changer. Set your pressure washer to 2000 PSI for concrete, and remember to keep the nozzle at least 12 inches away from the surface to avoid damage.
Case Study: The Pressure Washer Mishap
A neighbor of mine once accidentally stripped paint from his wooden fence with a pressure washer set too high. He had to sand down the bare spots and repaint. To avoid this, always test your pressure settings on a small, inconspicuous area first. It’s a good practice that can save you a lot of headaches!
Pro Tips
- When using bleach for mold removal, mix one part bleach with three parts water, and always wear gloves and a mask to protect yourself.
- After cleaning, allow surfaces to dry completely before sealing; this can take up to 24 hours depending on humidity levels.
Recommended Gear
Disclosure: As an Amazon Associate, we may earn from qualifying purchases at no extra cost to you.
Common Mistakes
- Skipping the sweeping step before washing.
- Using the wrong cleaner for the surface material.
- Not wearing protective gear such as gloves and masks.
- Applying too much pressure with a pressure washer.
- Neglecting to inspect surfaces for damage after cleaning.
)