How to Outdoor Upgrades for Home Repair & Maintenance for First-Time DIYers (Winter, November)
)
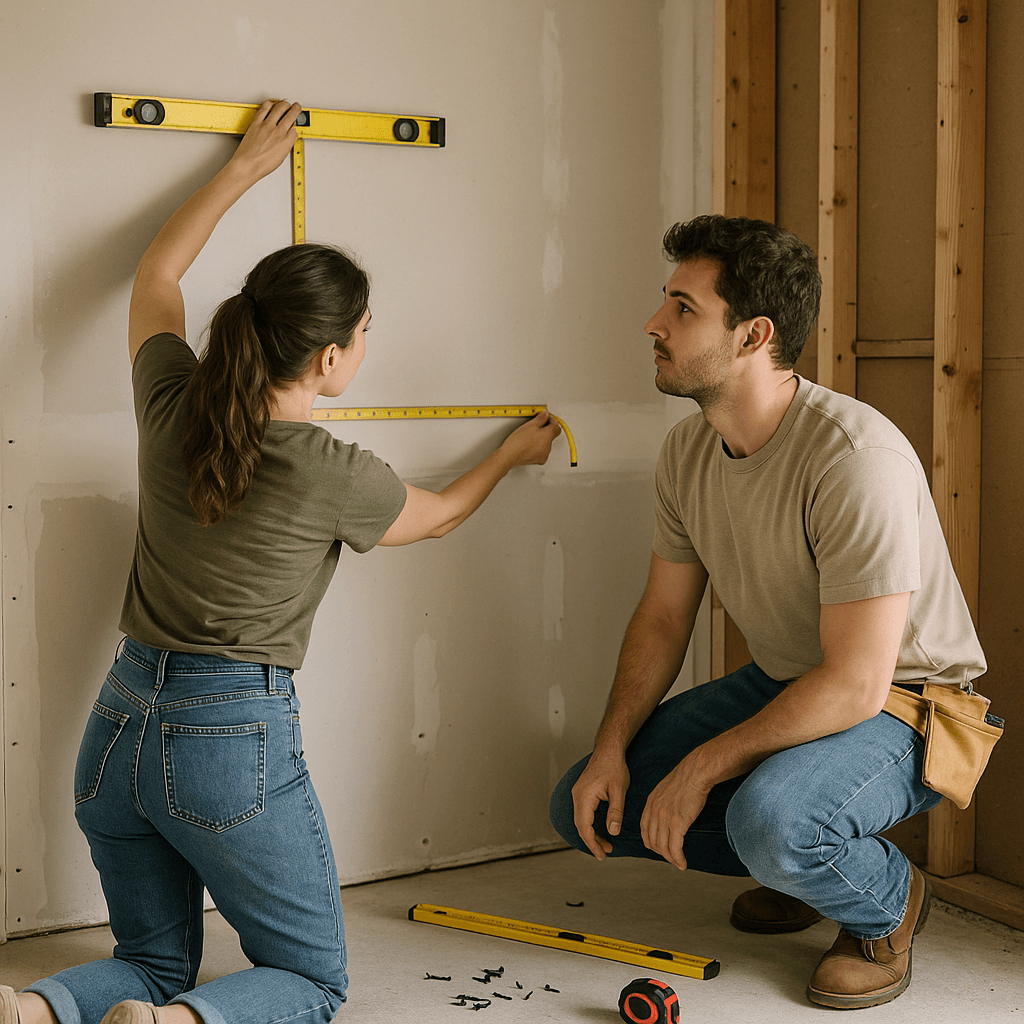
Tools Needed
Materials Needed
Safety Tips
- Always have someone hold the ladder securely when working at heights to prevent falls.
- Wear gloves and eye protection when handling sharp tools, chemicals, or using a pressure washer.
- Check weather conditions before starting outdoor projects to avoid unsafe work in wet or freezing conditions.
- Do not rush prep work; ensure surfaces are clean and dry before applying sealants for proper adhesion.
Before You Start / What to Know Up Front
Hey there, fellow DIYers! If you’re reading this, chances are you’ve got some outdoor upgrades in mind for your home this winter. I totally get it—winter can be a challenging time for homeowners. The leaves are falling, temperatures are dropping, and it’s easy to feel a bit overwhelmed by all the maintenance tasks ahead. But fear not! I’m here to help you tackle some outdoor upgrades that not only keep your home looking sharp but also enhance its functionality and safety.
This guide is aimed at homeowners who are comfortable with basic repairs but want professional-like results. So if you’re ready to roll up your sleeves, you’re in the right place. Just remember, it’s perfectly normal to feel a little nervous if this is your first time tackling outdoor projects. I’ll share my experiences and insights to help you navigate through it.
Method Overview
We’re going to take a hands-on approach to outdoor upgrades this winter. From my experience, breaking each task down into manageable steps is the most effective way to go. You’ll learn to prioritize tasks based on urgency and weather, gather your materials and tools, and tackle each project methodically. This approach keeps you organized and focused, which is vital when dealing with winter’s challenges.
However, if your home has severe damage or structural issues, this method might not be the best fit. For example, if you’re facing a leaky roof or extensive rot in your siding, it’s best to call in a pro. Remember, safety and compliance with local building codes and permit requirements are paramount.
Deep Step Detail
Let’s dive into the steps you’ll need to take for your outdoor upgrades. Below are some common projects you can tackle this winter, complete with tools and situations to consider.
1. Inspect and Repair Gutters
First and foremost, make sure your gutters are clear of debris. Clogged gutters can lead to serious water damage and even ice dams during winter.
Tools Needed:
- Ladder
- Garden trowel or scoop
- Bucket
- Gutter cleaning attachment for a pressure washer (optional)
Instructions:
- Set your ladder securely against the house. Always have someone hold it for safety—trust me, you don’t want to take a tumble!
- Clear out leaves and debris using your trowel. If you’re feeling ambitious, use the pressure washer attachment to rinse away any stubborn grime.
- Check for leaks and make any necessary repairs with gutter sealant. Keep in mind that a good sealant can save you from costly water damage down the line.
2. Winterize Your Outdoor Faucets
Preventing your pipes from freezing is crucial in the winter months.
Tools Needed:
- Hose bib cover
- Insulation tape
Instructions:
- Disconnect hoses from outdoor faucets.
- Install hose bib covers to insulate.
- For extra protection, wrap insulation tape around any exposed pipes. Remember, a small investment in insulation can save you from big repair bills later on!
3. Maintain Your Deck or Patio
If you have a wooden deck, it’s vital to protect it from winter elements.
Tools Needed:
- Deck cleaner
- Pressure washer
- Weather-resistant sealant
Instructions:
- Clean the deck using a deck cleaner and rinse with a pressure washer. Make sure to allow it to dry thoroughly before applying the sealant.
- Apply a weather-resistant sealant to protect against moisture. I learned the hard way that skipping this step leads to splintered wood and peeling paint down the line.
4. Prepare Your Lawn
Winter is a great time to prep your lawn for the spring.
Tools Needed:
- Lawn aerator
- Rake
- Grass seed
Instructions:
- Rake up any leaves and debris.
- Aerate the soil using a lawn aerator to allow nutrients and water to penetrate better.
- Overseed with winter grass seed to keep your lawn healthy. I’ve found that a little prep work now pays off in a lush lawn come spring!
5. Check Your Exterior Lighting
Having good lighting outside is important for safety, especially as the days get shorter.
Tools Needed:
- Light bulbs
- Screwdriver
- Ladder
Instructions:
- Inspect all outdoor fixtures for burned-out bulbs and replace them.
- Clean any dust or grime from the fixtures to improve brightness. Don’t overlook this step—good lighting can deter unwanted visitors and enhance curb appeal.
Troubleshooting & Fix-ups
Even the most seasoned DIYers run into hiccups, so let’s talk about some common problems you might encounter. For instance, while cleaning gutters, you might find that a section is sagging or misaligned. If that happens, you can easily fix it by reattaching the brackets or adding new ones.
If you discover a leak while inspecting your gutters, don’t panic! You can use gutter sealant to fill small holes or cracks. Just make sure to dry the area completely before applying the sealant to ensure a proper bond.
Another issue you might face is difficulty in disconnecting hoses. Sometimes they can get stuck. A simple trick is to twist the hose gently while pulling. If it still won’t budge, try running warm water over the connection to loosen it up.
Common Mistakes & How to Avoid Them
I’ve seen plenty of DIYers make the same mistakes over and over, so let’s highlight those to save you some hassle.
First, many people forget to check the weather before starting outdoor projects. Winter can be unpredictable, and working in wet or freezing conditions is not only uncomfortable but can also lead to unsafe situations. Always plan your workday around the forecast to avoid getting caught in the elements.
Another common mistake is neglecting safety gear. I can’t stress this enough: always wear gloves, especially when working with sharp tools or chemicals. Eye protection is also essential, particularly when you’re cleaning gutters or using a pressure washer. I’ve had a few close calls where safety gear saved me from injury.
Finally, don’t rush the prep work. Skipping steps like cleaning surfaces before applying sealants can lead to poor adhesion and increased wear over time. Take the time to do it right, and you’ll be glad you did!
Pro Tips & Lessons Learned
Over the years, I’ve picked up a few tricks that have saved me time and frustration. One of my favorite time-savers is using a garden sprayer to apply sealants instead of brushes or rollers. It gives you a more even coat and can cover large areas quickly.
If you’re winterizing your outdoor faucets, consider using a thermal cover that you can find at any home improvement store. They’re inexpensive and provide extra insulation against freezing temperatures.
Lastly, keep a dedicated toolbox for outdoor projects. Having everything in one place saves you from running back and forth to the garage, which can be a real time-waster.
Budget & Time Signals
When it comes to budgeting for these outdoor upgrades, keep in mind that costs can vary widely based on materials and the size of your home. For instance, cleaning gutters can be done for under $50 if you have the tools already, while a good quality sealant can range from $15 to $50, depending on the brand.
If you’re planning to maintain your deck, you might spend $100-$200 on cleaner and sealant combined. Don’t forget to factor in your time as well; each project can take anywhere from a couple of hours to a full day, especially if you’re doing it solo.
When to Call a Pro
Sometimes, a project can become more complicated than anticipated, and that’s okay! If you find yourself dealing with extensive rot in your deck or siding, or if you’re unsure about the structural integrity of your home, it’s time to call in a professional.
Another reason to call a pro is if you’re uncomfortable working at heights, especially when it comes to cleaning gutters or inspecting roofs. Your safety is paramount, and it’s better to leave those tasks to someone who is trained to handle them.
Conclusion
So there you have it! Winter doesn’t have to be a daunting time for outdoor maintenance and upgrades. By taking a methodical approach and tackling projects step by step, you can keep your home in top shape and even enhance its curb appeal. Remember to prioritize safety, follow local building codes, and enjoy the process as you learn new skills along the way.
If there’s one thing I want you to take away from this, it’s that every small upgrade counts. Now that you’ve got a plan, why not start with cleaning those gutters today? You’ll be surprised how much better your home will look and feel once you’ve done it!
Selecting the Right Tools and Materials
When starting your outdoor upgrades, choosing the right tools is crucial. For instance, a quality circular saw can make cutting through lumber seamless, but ensure you set the blade depth to just under the thickness of your material to avoid tear-out. If you're working with pressure-treated wood, guarantee you wear safety goggles and a mask—those chemicals can be harsh.
Surface Preparation for Painting or Staining
Before applying paint or stain, surface preparation is key. Make sure to clean the surface with a power washer at least 24 hours before you start. After washing, allow it to dry completely—ideally, wait 48 hours if the weather is damp. I once rushed this step and ended up with bubbles in my paint—frustrating, but I learned that patience pays off.
Mini Case Studies
Case Study 1: The Wood Deck Disaster
A neighbor decided to stain their deck without sanding it first, resulting in a blotchy finish. The fix? I suggested using a paint stripper to remove the uneven stain, followed by sanding with a 120-grit paper to create a smooth surface. We then reapplied the stain, ensuring to do a test patch first this time.
Case Study 2: The Fence Fiasco
Another friend attempted to install a fence alone. They misaligned the posts, leading to a wobbly structure. I helped them reset the posts by digging them out, adding concrete to stabilize, and using a level—always level your posts or you'll regret it!
Pro Tips
- Weather Check: Always check the weather forecast. For outdoor painting, aim for a day when humidity is below 60% to ensure proper drying times.
- Cure Times: After applying sealant to wood, allow at least 24-48 hours before heavy use in dry conditions. I’ve learned the hard way that rushing often leads to peeling later on.
- Fasteners: Use stainless steel screws for outdoor projects to prevent rust, especially in coastal areas. I once had to redo an entire railing because I used regular screws—don’t make the same mistake!
Recommended Gear
Disclosure: As an Amazon Associate, we may earn from qualifying purchases at no extra cost to you.
Common Mistakes
- Ignoring the weather forecast and working in unsafe winter conditions.
- Neglecting to wear appropriate safety gear such as gloves and eye protection.
- Skipping surface cleaning before applying sealants, leading to poor adhesion and faster wear.
- Rushing through tasks without proper planning and organization.
More in Home Repair