How to Safety Gear for DIY Cleaning & Maintenance Every DIYer Should Know (Winter, December, Year-End)
)
Tools Needed
Materials Needed
Safety Tips
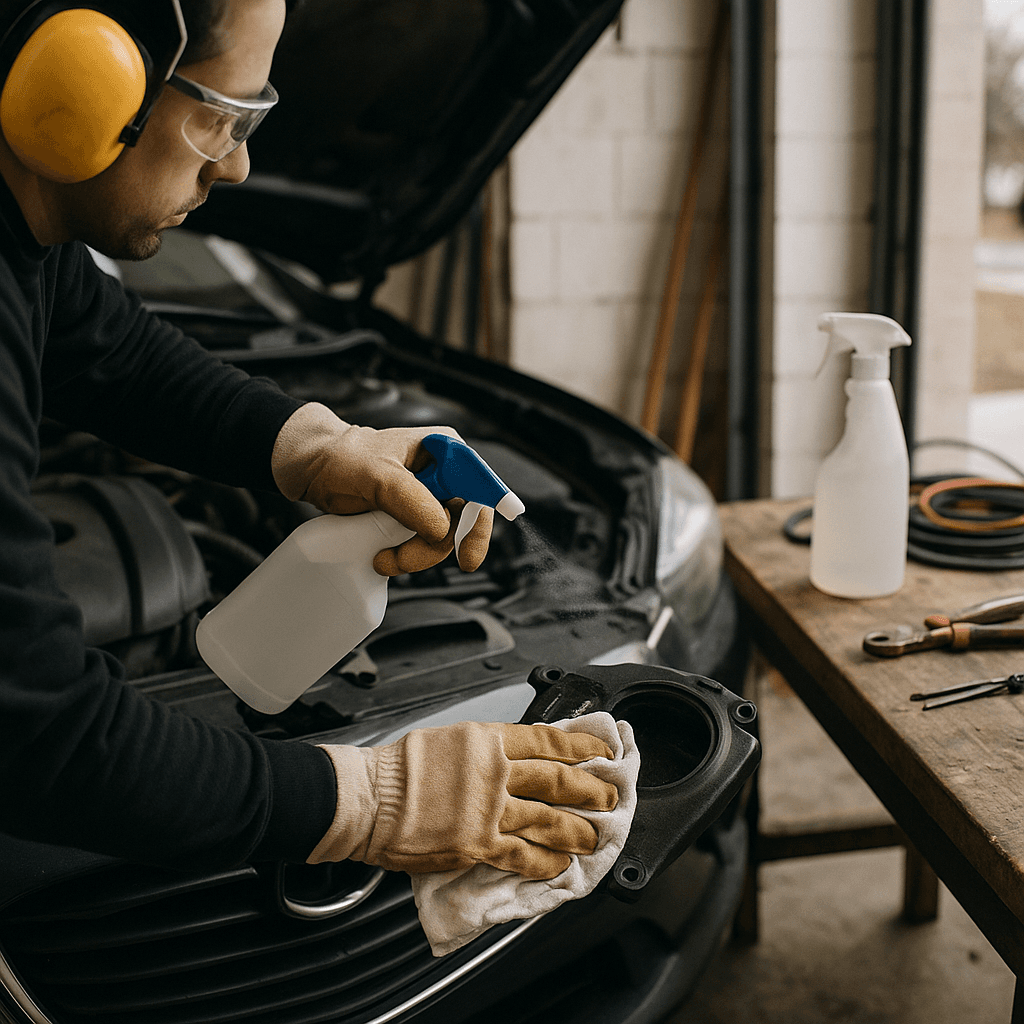
- Always wear gloves, goggles, and a respirator when handling chemicals or doing maintenance tasks.
- Ensure good ventilation by opening windows and using fans to circulate air.
- Follow product labels and instructions carefully to avoid dangerous reactions.
- Keep children and pets away from the workspace during cleaning.
- Have a first aid kit readily available for minor injuries.
- Know your limits and call a professional if the task involves hazardous materials or feels unsafe.
How to Safety Gear for DIY Cleaning & Maintenance Every DIYer Should Know (Winter, December, Year-End)
When it comes to DIY cleaning and maintenance, safety gear is essential. Whether you're scrubbing down surfaces, removing mold, or tackling seasonal tasks, the right equipment can make all the difference in keeping you safe and your project on track.
Quick Answer
Always wear gloves, goggles, and a respirator when handling cleaning chemicals or doing maintenance tasks. Ensure you have proper ventilation to protect your skin, eyes, and lungs. This simple habit can save you from serious injuries and health issues.
Before You Start
Before diving into any cleaning or maintenance project, take a moment to assess your needs. I remember starting a big cleaning task without a solid plan—my supplies were scattered, and I didn’t know where to begin. That disorganization wasted hours and made me feel overwhelmed. Preparation is everything; it not only boosts your efficiency but also helps you stay safe.
Method Overview
In this guide, I’ll share how to equip yourself with effective cleaning methods while prioritizing safety. Understanding which tasks require specific safety gear is crucial. For instance, if you’re dealing with hazardous materials like asbestos or lead paint, don’t risk it—call a pro.
Deep Steps
Here’s a safe approach to your DIY cleaning and maintenance:
Step 1: Assess Your Environment
- Identify Risks: Walk through the area you plan to clean. Look for hazards like mold, dust buildup, or chemical residues.
- Ventilation Check: Open windows and doors to ensure good airflow. If possible, set up fans to circulate air.
Step 2: Gather Safety Gear
- Personal Protective Equipment (PPE): Make sure you have:
- Nitrile gloves: These protect your hands from chemicals and irritants.
- Safety goggles: Protect your eyes from splashes and dust.
- Respirator mask: Use one rated for the specific chemicals you’ll be using.
- Clothing: Wear long sleeves and pants to minimize skin exposure.
Step 3: Prepare Your Cleaning Supplies
- Choose Non-Toxic Cleaners: Opt for eco-friendly cleaning products that are less harmful. Check labels and avoid harsh chemicals.
- Test Surfaces: Always try a small, inconspicuous area to ensure your cleaner won’t damage the surface.
Step 4: Execute the Cleaning
- Work Methodically: Start from the top (like ceilings or high shelves) and work your way down. This way, any dirt or dust falls to the areas you’ll clean last.
- Take Breaks: If you’re working for an extended period, take breaks to avoid fatigue.
Step 5: Clean Up Properly
- Dispose of Waste: Follow local guidelines for disposing of cleaning materials and used PPE.
- Store Supplies Safely: Put away any chemicals securely, out of reach of children and pets.
Decision Points
During your cleaning project, you’ll face some important choices:
- Choosing Between Gloves: I started with latex gloves for general cleaning but switched to nitrile when I began using harsher chemicals. Nitrile is more resistant to spills and punctures, making them a safer option.
- Ventilation Methods: I once debated using a fan versus just opening windows. I opted for a fan to circulate air more effectively, but I also opened windows for cross-ventilation. That combo worked wonders.
- Chemical Selection: I had the choice between a commercial cleaner and a DIY vinegar-based solution. I went with vinegar for its safety, even though it took longer to see results. The tradeoff was worth it for my family’s health.
- Time vs. Cost: I considered hiring a pro for a heavy-duty clean or doing it myself. The pro’s rate was high, but I realized I could save by dedicating a weekend to it. It took longer, but I gained valuable experience.
Troubleshooting & Fix-ups
Even with good preparation, issues can arise. Here are some real problems I faced and how I tackled them:
- Chemical Spill: I once knocked over a bottle of cleaner. I contained the spill with old rags and neutralized it with baking soda. Keep absorbent materials handy for emergencies.
- Dust Clouds: In an older home, I stirred up a lot of dust. I stopped, put on my respirator, and used a damp cloth to minimize airborne particles before continuing.
- Skin Irritation: After using a strong cleaner, I felt a burning sensation on my hand. I washed it off immediately and applied cooling aloe vera gel. Always have a first aid kit nearby just in case.
- Equipment Malfunction: My vacuum cleaner began to smell burnt while I was cleaning. I turned it off, unplugged it, and checked the filter and brush. It was clogged, so I cleaned it out. Regular maintenance on your tools is crucial.
Common Mistakes & How to Avoid Them
Here are some mistakes I’ve made and tips to steer clear of them:
- Skipping Safety Gear: Always wear your PPE. One splash can change everything.
- Neglecting Ventilation: Failing to ventilate can lead to dangerous fumes. Always keep air moving.
- Using Wrong Cleaners: Not all cleaners suit every surface. Always read labels and do a spot test.
- Overloading Tools: Using tools beyond their capacity can lead to breakdowns. Know your equipment limits.
- Ignoring Personal Limits: If you feel fatigued, take a break. It’s better to pause than to rush and make mistakes.
- Improper Waste Disposal: Dispose of chemicals and materials per local regulations to avoid environmental hazards.
Safety Tips
Safety must be a priority in any DIY project. Here are some crucial tips:
- Ventilate Well: Ensure good airflow in your workspace. Open windows and use fans as needed.
- Wear Gloves/Respirator: Protect your skin and lungs by wearing the appropriate gear, especially with harsh chemicals.
- Follow Product Labels: Always adhere to cleaning product instructions to avoid dangerous reactions.
- Keep Kids & Pets Away: Ensure your workspace is off-limits while you work.
- Have a First Aid Kit: Always have one on hand for minor injuries or accidents.
- Know Your Limits: If a task feels too big or dangerous, don’t hesitate to call a professional.
Budget & Time Ranges
The budget for a DIY cleaning project can vary:
- Supplies: Cleaning supplies can range from $20 to $100+, depending on your choices. Eco-friendly options may cost more but are safer.
- Equipment: If you need to buy tools like a vacuum or pressure washer, expect to spend $50 to $300 or more.
- Time Investment: Depending on the project size, you might spend a few hours to a whole weekend. More complex jobs will naturally take longer.
- Unexpected Repairs: Sometimes, cleaning reveals bigger issues like mold or damage, requiring additional resources. Always budget a little extra for surprises.
Stop & Call a Pro
Here are some conditions that warrant calling a professional:
- Mold Growth: If you see large patches of mold or suspect it has penetrated walls, call a pro.
- Hazardous Materials: If your cleaning involves asbestos, lead paint, or other hazards, don’t attempt to handle it yourself.
- Structural Damage: If cleaning reveals significant structural issues like rotting wood or cracks, it’s time to consult an expert.
- Health Symptoms: If you start feeling sick or develop respiratory issues while cleaning, stop immediately and seek medical advice.
What I’d Do Differently If I Did This Again
Reflecting on my DIY cleaning projects, here are a few changes I would make next time:
- Skip the Unnecessary Step: I wasted time on a DIY cleaner that didn’t work well. Next time, I’d stick to proven commercial options.
- Do the Planning Earlier: I gathered supplies on the day of cleaning, which was stressful. Planning ahead saves time.
- Upgrade My Tools: I used an old vacuum that struggled. Investing in a better model would make the job easier.
- Prepare for Surprises: I was surprised by the dust and debris. I’d stock up on extra masks and cleaning materials next time.
By following these guidelines, you can make your DIY cleaning and maintenance projects safer and more effective. Preparation is key, and never underestimate the importance of safety gear. Happy DIYing!
Recommended Gear
Disclosure: As an Amazon Associate, we may earn from qualifying purchases at no extra cost to you.
Common Mistakes
- Skipping safety gear such as gloves and goggles.
- Neglecting proper ventilation leading to dangerous fumes.
- Using the wrong cleaners without testing on surfaces first.
- Overloading or misusing cleaning tools causing equipment malfunctions.
- Ignoring personal fatigue and not taking breaks.
- Improper disposal of chemicals and used PPE.
More in Cleaning