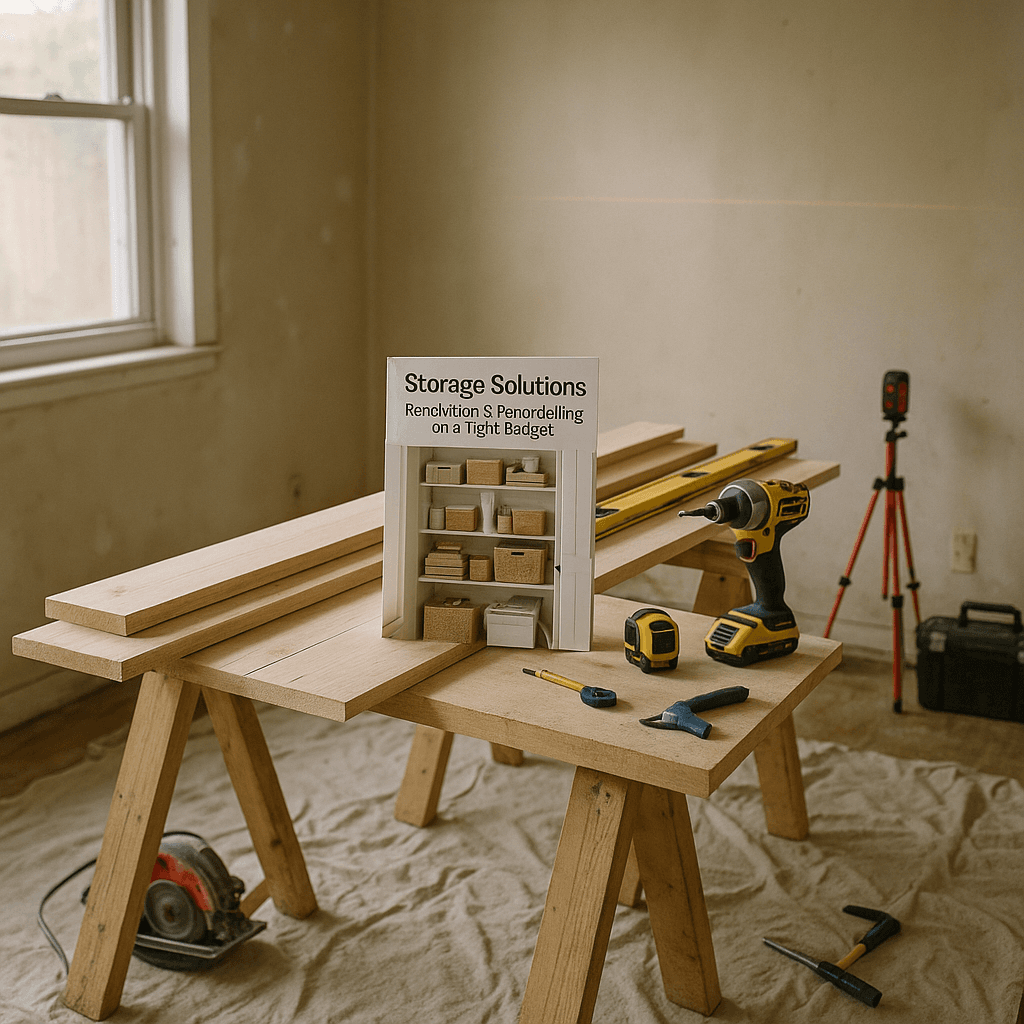
How to Storage Solutions for Renovation & Remodeling on a Tight Budget (Winter, December)
)
Materials Needed
Safety Tips
- Keep your workspace tidy to avoid tripping hazards.
- Secure cords and tools to prevent accidents.
- Clear pathways to ensure safe movement around the workspace.
- Use protective covers to prevent damage to items.
- Consider renting storage for large projects to reduce clutter.
Before You Start / What to Know Up Front
Renovating or remodeling your home is an exciting journey, but it can also feel overwhelming—especially when you’re on a tight budget. I remember my first big project: tearing down a wall in my living room to open up the space. I was thrilled by the idea, but quickly realized I had to manage a whirlwind of tools, materials, and furniture. That’s where effective storage solutions come in handy. This guide will help you navigate your renovation while keeping your workspace organized and your budget intact.
This is for DIYers like you who are planning larger remodel projects—whether it’s a kitchen update or a bathroom overhaul. You’ll learn how to create smart storage solutions that won’t break the bank while ensuring you have a clear path to work in. With some creativity and elbow grease, you can tackle your renovation without feeling like you’re living in a construction zone.
Method Overview
When it comes to managing storage during a renovation, our approach focuses on maximizing your space and minimizing clutter. We’ll repurpose items you already have, use inexpensive materials, and organize efficiently. This method not only saves money but also keeps you organized and focused on your tasks.
However, if you’re working with a very small space or tackling a project with extensive tools and materials that can’t be easily stored away, you might want to consider renting a storage unit or finding a temporary space until your project is completed.
Deep Step Detail
Now, let’s dive into the step-by-step process of creating effective storage solutions during your renovation. Here’s how to keep everything organized:
Step 1: Assess Your Space
Before you do anything, take a good look at your space. Measure the areas where you will be working and identify spots for temporary storage. This might be a corner of the garage, the basement, or even a spare room. I learned the hard way to check the floor space versus wall space; sometimes the best storage is vertical, not horizontal.
Step 2: Create a Plan
Once you know your available space, sketch out a simple plan. Determine what items you'll need to store and how much space they will take. Consider using items you already own, like old shelving units, cabinets, or even stackable bins. The first time I used an old bookshelf for storage, it felt like I had uncovered hidden treasure!
Step 3: Gather Supplies
You’ll need some materials to create your storage solutions. Here’s a list of what I recommend:
- Plastic bins (clear ones are best so you can see what’s inside)
- Sturdy shelving units (metal or wood)
- Labels for easy identification
- Zip ties or rope for securing tools
- Moving blankets or old sheets to protect items from dust
Step 4: Organize Your Tools and Materials
Start by sorting your tools and materials into categories. For instance, keep all painting supplies together, and group your power tools in another area. Use bins or boxes to store smaller items like screws and nails. Trust me, the first time I organized my tools this way, it was like a light bulb went off—I could find what I needed in seconds! A common mistake is mixing up categories; keep it simple to avoid confusion later.
Step 5: Set Up Your Workspace
Establish a designated workspace that is separate from your living area. This helps keep dust and debris contained. If you have a garage or a basement, use that as your main hub. Make sure your tools are easily accessible, but also securely stored away when not in use. Don’t forget to clear a path—tripping hazards are an accident waiting to happen.
Step 6: Secure Everything
As you work, make sure to secure anything that might tip over or get damaged. Use zip ties to organize cords and prevent tripping hazards. I’ve seen too many DIYers get hurt because they tripped over loose cords or materials lying around. Keeping everything tidy and out of the way can save you a trip to the emergency room!
Step 7: Clean as You Go
Finally, clean your workspace regularly. This might seem minor, but it makes a huge difference. I learned this the hard way when I let debris pile up and ended up losing tools or misplacing materials. A clean space not only makes it easier to work but also keeps you safe from accidents. Make it a habit to sweep up and put things back after each session.
Troubleshooting & Fix-ups
Even the best-laid plans can go awry. Here are some common issues you might encounter and how to handle them:
- Space Running Out: If you find you don’t have enough storage, consider vertical space. Install shelves above workbenches or in closets to keep items off the floor. I once hung pegboards in my garage; they gave me tons of vertical storage and kept my tools visible.
- Dust and Debris: If your workspace gets too dusty, invest in a basic shop vacuum. It’s worth it to keep your tools in good shape and your lungs clear. I’ve regretted not doing this sooner on multiple projects.
- Accidental Damage: If you accidentally damage a wall or furniture while moving things around, don’t panic. Most damages can be easily fixed with a little spackle and paint. Just take your time to do it right—rushing can lead to more issues later.
Common Mistakes & How to Avoid Them
From my experience, here are some common mistakes that DIYers make when it comes to storage during renovations:
- Underestimating Space Needs: Many people think they can squeeze everything into a small area. Measure twice and plan accordingly to avoid chaos.
- Ignoring Safety: Working in a cluttered area can lead to accidents. Always keep your workspace tidy and free of hazards.
- Not Labeling: I can’t stress this enough—label your bins! You’ll save so much time searching for items if you can easily see what’s inside.
- Overloading Shelves: Don’t overload your shelves or bins. This can lead to breakages or accidents. Follow the manufacturer’s weight limits and distribute weight evenly.
- Skipping Clean-Up: It’s easy to let cleaning slide, but a messy space invites accidents. Make clean-up part of your routine. I’ve made this mistake far too often!
Pro Tips & Lessons Learned
Here are some smaller tricks I’ve learned that can save you time, money, and frustration:
- Use Old Furniture: Repurpose old furniture as storage. An old dresser can hold tools, and a bookshelf can be great for organizing supplies.
- DIY Storage Solutions: Consider building your own storage units from plywood. It’s cheaper than buying new furniture, and you can customize them to fit your space.
- Invest in Clear Bins: I love using clear bins because they let you see what’s inside without having to open them. It saves time and keeps you organized.
- Create a Checklist: Keep a checklist of what tools and materials you have on hand. This can help you avoid buying duplicates and keep your spending in check.
- Use Hooks and Pegboards: Install hooks or a pegboard in your workspace to hang tools. It keeps them off the ground and easy to grab.
Budget & Time Signals
Budgeting for storage solutions can vary widely based on your needs. On average, you might spend around $100 to $300 for bins, shelving, and other supplies. However, costs can increase if you choose more elaborate storage systems or need to buy new tools. The key is to prioritize what you need first and avoid impulse buys.
Time-wise, setting up your storage solutions may take a weekend or two, depending on the size of your project. If you’re working on a larger renovation, consider phasing your organization efforts as you complete different stages of the project.
When to Call a Pro
There are certain times when you should consider calling in a professional, despite your DIY spirit:
- If you’re dealing with electrical or plumbing work, especially if permits are required. Always consult a licensed pro for these types of jobs.
- If your renovation involves structural changes to your home. Verify with local codes and professionals to ensure safety.
- If you feel overwhelmed or unsure about your ability to manage the project. Sometimes it’s better to seek help rather than make costly mistakes.
Conclusion
Renovating your home on a budget doesn’t have to be a chaotic experience. By creating effective storage solutions, you can keep your workspace organized and your project on track. Remember to assess your space, plan ahead, and keep things tidy as you work.
You’ve got this! Take a moment today to start planning your storage setup. Look around your house for items you can repurpose, and gather your supplies. Every small step you take now will make a big difference when it’s time to dive into your renovation. Good luck, and happy DIYing!
Understanding Space Optimization Techniques
When planning your storage solutions, consider maximizing vertical space. Using wall-mounted shelves can create ample storage without taking up floor space. For instance, I used L-brackets to mount wooden planks above my workbench. This not only organized tools but also made everything easily accessible. I suggest securing the brackets with heavy-duty anchors if you're mounting on drywall to prevent sagging.
Using Clear Storage Bins
Invest in clear plastic bins for smaller items. Labeling these bins with a label maker can save time searching for materials. I once spent an hour looking for screws because I didn’t label my bins. After that, I implemented a color-coded system: blue for screws, green for nails, and red for tools.
Mini Case Study: Misjudging Storage Needs
A friend of mine once packed all her tiles into a corner without considering weight distribution. The stack collapsed, damaging several tiles. To fix this, I suggested she use sturdy, stackable crates. We distributed the weight evenly and created a tiled inventory list on a clipboard to keep track.
Pro Tips
If you have paint cans, store them upside down to keep the lids sealed and prevent drying out. Additionally, always check your local hardware store for clearance items; you can find perfectly good storage solutions for half the price. Lastly, when painting, use plastic wrap over the roller and brush to save time on cleaning—just wrap them up and refrigerate until your next session.
Recommended Gear
Disclosure: As an Amazon Associate, we may earn from qualifying purchases at no extra cost to you.
Common Mistakes
- Underestimating space needs leading to cluttered work areas.
- Ignoring safety by working in disorganized spaces.
- Not labeling storage bins causing time wasted searching for items.
- Overloading shelves risking breakage or accidents.
- Skipping regular clean-up increasing risk of lost tools and accidents.
More in Renovation