Time-Saving Tool Kits for Beginner DIY Guides Before the Holidays (Winter, December, Christmas)
)
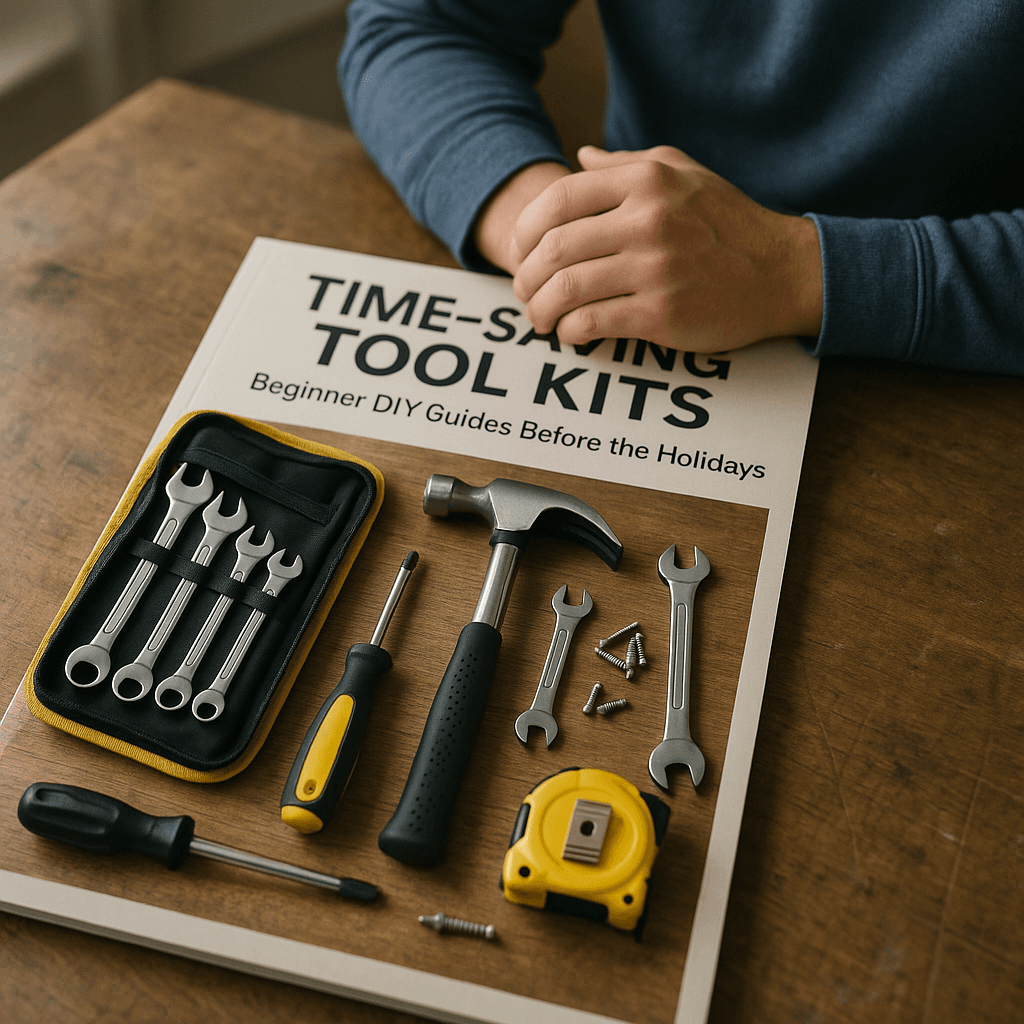
Tools Needed
Safety Tips
- Always wear safety goggles to protect your eyes from debris.
- Use gloves to protect your hands from sharp tools and splinters.
- Wear a dust mask when sanding or working with insulation.
- Keep your workspace organized to avoid accidents.
- Never rush a project; take breaks to maintain focus and safety.
Before You Start / What to Know Up Front
If you’re reading this, chances are you’re gearing up for the holiday season and looking to dive into some DIY projects. Maybe you want to create homemade gifts, spruce up your living space, or tackle a few repairs before guests arrive. Whatever your motivation, I’m here to guide you through some essential tool kits that will serve you well as a beginner DIYer.
I remember my first winter DIY project vividly: trying to build a simple wooden shelf to display holiday decorations. I had a handful of tools but not quite the right ones, and it turned into a frustrating experience. I found myself running to the hardware store multiple times for the right screw or drill bit, which was not only time-consuming but also incredibly stressful! My hope is that this guide will help you avoid that chaos and empower you to take on projects with confidence.
This guide is designed for new DIYers who want to learn the fundamentals while keeping safety in mind. You’ll find practical tips, step-by-step directions, and insights from my personal experiences. Remember, start small; there’s no need to build a log cabin right away! Focus on manageable projects that build your skills and confidence.
Method Overview
The approach we’ll take focuses on assembling a basic tool kit that covers a variety of tasks you might encounter during the holiday season and beyond. A well-rounded toolkit will allow you to tackle everything from simple repairs to creative projects without needing to run to the store every time you need a tool.
This method works well because it emphasizes versatility. You’ll learn how to use each tool effectively, and I’ll share when it’s not a good fit. For instance, if you’re looking to do more intricate work, you might need specialized tools like a jigsaw, but for most beginner tasks, the essentials will do just fine.
Deep Step Detail
Step 1: Gather Your Basic Tools
Before you start any project, having the right tools on hand is crucial. Here are the essential tools I recommend for a beginner DIY kit:
- Hammer – A reliable 16-ounce claw hammer is a must-have. It’s perfect for driving nails and removing them, and it feels great in your hand.
- Screwdrivers – A set of both Phillips and flathead screwdrivers will cover most of your needs. Opt for a set that includes various sizes to tackle everything from assembling furniture to hanging picture frames.
- Tape Measure – A 25-foot tape measure is ideal for measuring spaces and materials accurately. This can save you from costly mistakes, especially when working on projects like building shelves.
- Level – A small, 24-inch level is essential for ensuring that your shelves, pictures, and furniture are straight. Trust me; this tool is a game changer and can prevent a lot of headaches!
- Pliers – A pair of needle-nose pliers will help with gripping and twisting wires or small objects, making tasks like electrical work much easier.
Step 2: Purchase Your Safety Gear
Safety should always come first. Before you start any DIY project, invest in some basic Personal Protective Equipment (PPE). This includes:
- Safety goggles to protect your eyes from dust and debris. You never know when a little piece might go flying!
- Gloves to protect your hands, especially when handling sharp tools or materials. I learned this the hard way after a nasty splinter.
- A dust mask, especially if you’re sanding or using materials like insulation. It’s easy to overlook, but your lungs will thank you later.
Step 3: Organize Your Workspace
Take a moment to set up a dedicated workspace. Clear a table or a corner of your garage or basement. Make sure you have good lighting and that your tools are easily accessible. An organized space not only saves time but also reduces the risk of accidents. I’ve tripped over my own tools more times than I care to admit, so trust me on this!
Step 4: Plan Your Projects
Before diving into a project, take some time to plan. Sketch out what you want to create or repair. For instance, if you’re building a shelf, draw the dimensions and consider the materials you'll need. This planning phase helps you visualize your end goal and stay on track. Plus, it can save you from making unnecessary trips to the store!
Step 5: Start Small
Begin with simple projects like hanging a picture frame or assembling a small piece of furniture. These small wins will give you the confidence to tackle bigger tasks down the line. I still remember how accomplished I felt after successfully hanging my first picture frame!
Troubleshooting & Fix-ups
Even with the best planning, things can go wrong. Here are some common issues you might encounter and how to handle them:
- Misplaced Measurements: If you measure twice but cut once and still end up with the wrong size, don’t panic! Use wood filler for small mistakes or consider repurposing the material into something new, like a smaller shelf.
- Screws Won’t Tighten: If screws keep coming loose, check to see if you’re using the right size for the material. Sometimes, a little wood glue can help hold things in place. I’ve had screws wiggle loose on me during a project and a dab of glue saved the day!
- Uneven Shelves: If your shelves are leaning or uneven, recheck with your level. You may need to readjust the brackets or add shims to balance them out. It’s a simple fix that can make a world of difference.
- Paint Drips: If you’re painting and notice drips, simply use a small brush to touch up the area after it dries. Take your time and use a steady hand to avoid this in the future. I once had a beautiful piece ruined by drips, so now I’m extra cautious!
- Stripped Screws: If you strip a screw while trying to tighten it, try using a rubber band in between the screw and the screwdriver for extra grip. It’s a nifty little trick I’ve used when I really didn’t want to replace the screw!
Common Mistakes & How to Avoid Them
As a DIYer, I’ve made my fair share of mistakes. Here are a few common ones and how to sidestep them:
- Skipping Safety Gear: Never skip wearing safety gear. It may seem unnecessary, but I learned the hard way when a piece of wood flew off while I was cutting. Always protect your eyes and hands.
- Not Reading the Instructions: I can’t tell you how many times I jumped straight into a project without reading the instructions. Take a few minutes to familiarize yourself with the directions and specifications of your tools and materials. It can save you a lot of headaches!
- Overlooking Measurements: Measure twice, cut once is a mantra for a reason! Always double-check your measurements before making any cuts or adjustments.
- Using the Wrong Tools: Using the right tool for the job is crucial. For example, trying to hammer a screw instead of using a screwdriver can lead to a mess. Always use the appropriate tool for the task, and don’t be afraid to ask for help!
- Rushing the Process: It’s easy to get caught up in excitement and rush through a project. Take your time, and don’t hesitate to step away if you’re feeling frustrated. A fresh perspective can do wonders!
Pro Tips & Lessons Learned
Throughout my DIY journey, I’ve learned a few tricks that can save you time and frustration. Here are some of my favorites:
- Label Your Tools: If you have multiple sets of tools, label the storage boxes or drawers. This will help you find what you need quickly, especially when you’re in the middle of a project.
- Use a Project Journal: Keep a notebook where you jot down ideas, measurements, and lessons learned from each project. This can be a great reference for future tasks and helps you track your progress.
- Embrace Mistakes: Every DIY project is a learning opportunity. If something doesn’t go as planned, take a moment to assess what went wrong and how you can adjust next time. I’ve learned some of my best lessons this way!
- Take Breaks: Don’t forget to step back and take breaks. It’s easy to get lost in the flow, but taking short breaks can help you maintain focus and avoid mistakes.
- Ask for Help: Don’t hesitate to reach out to friends or family who may have experience. A fresh set of eyes can provide valuable insights and help you troubleshoot problems.
Budget & Time Signals
When it comes to budgeting for your DIY projects, keep these factors in mind:
- Material Costs: The type of materials you choose will significantly impact your budget. For example, solid wood is more expensive than plywood, so factor this into your planning. I’ve often splurged on quality materials only to regret it later!
- Tool Quality: Investing in high-quality tools may cost more upfront, but they’ll last longer and perform better. I learned this the hard way with cheaper tools that broke mid-project, causing delays and frustration.
- Time Investment: Be realistic about how much time you can dedicate to a project. Some tasks may take longer than expected, especially if you’re learning as you go.
- Phasing: If your project is extensive, consider breaking it down into phases. This allows you to spread costs and time over several days or weeks, making it more manageable.
When to Call a Pro
While DIY projects can be rewarding, there are times when it’s best to call in a professional. Here are some warning signs:
- Complex Electrical Work: If you’re dealing with electrical issues, it’s best to consult a licensed electrician. The last thing you want is to risk your safety.
- Structural Repairs: If your project involves load-bearing walls or foundations, it’s crucial to consult a professional. Structural integrity is no joke!
- Plumbing Issues: When it comes to plumbing, it’s often better to leave it to the pros. Leaks can lead to significant damage if not handled correctly.
- Time Constraints: If you’re short on time and need a project completed quickly, consider hiring someone to take on the task instead of stressing yourself out.
- Health Concerns: If you have any health issues that would be exacerbated by a DIY project, it’s best to leave it to someone else.
Conclusion
As you gear up for the holiday season, I hope this guide serves as a helpful starting point for your DIY adventures. Remember, the key is to start small, gather the right tools, and take your time. Each project is an opportunity to learn and grow your skills.
Celebrate your wins, no matter how small, and don’t hesitate to reach out for help or guidance as you go. If you’re ready for your next step, consider picking up a simple project like building a holiday decoration or creating a gift. You’ll be amazed at what you can accomplish!
Happy DIYing!
Recommended Gear
Disclosure: As an Amazon Associate, we may earn from qualifying purchases at no extra cost to you.
Common Mistakes
- Skipping safety gear and risking injury.
- Not reading instructions before starting a project.
- Overlooking measurements leading to errors.
- Using the wrong tools for the job.
- Rushing the process causing mistakes and frustration.
More in Beginner Guides