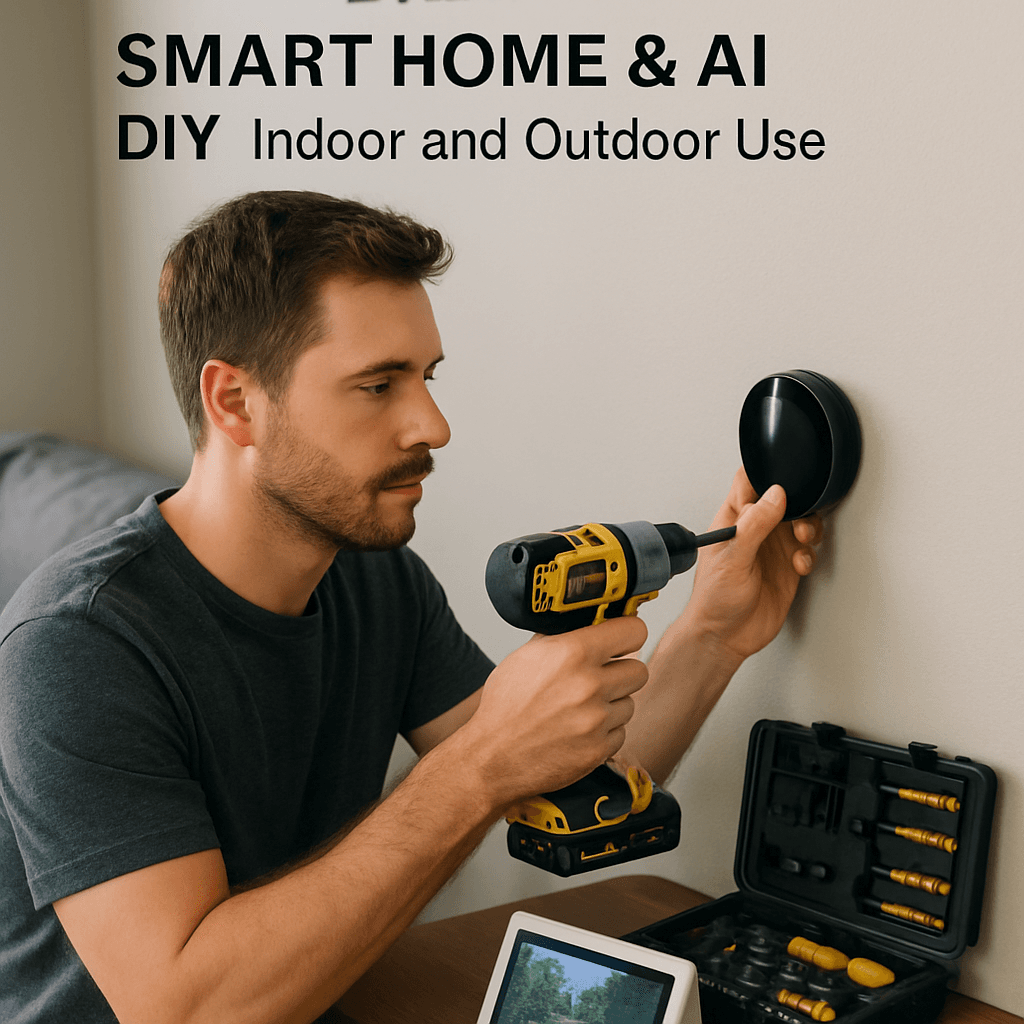
Avoid These Mistakes in Tool Kits for Smart Home & AI DIY for Indoor and Outdoor Use (Winter, December)
Tools Needed
Materials Needed
Safety Tips
- Always turn off power at the circuit breaker before working with electrical components.
- Use a multimeter to verify there is no live current before touching wires.
- Consult a professional if unsure about electrical load or complex installations.
- Secure your network credentials and follow best practices for device pairing and network security.
Avoid These Mistakes in Tool Kits for Smart Home & AI DIY for Indoor and Outdoor Use
As a seasoned DIY enthusiast who has tackled everything from intricate home automation setups to straightforward outdoor projects, I’ve picked up a few insights along the way about the common pitfalls in building your own smart home. In this article, we’ll dive into the essential tools you need for your smart home projects and explore how to sidestep typical mistakes that can lead to frustration and wasted time. Whether you’re just starting out or looking to expand your toolkit, this guide is your companion in the exciting world of smart devices and home automation.
Before You Start / What to Know Up Front
Let me tell you, the first time I ventured into the realm of smart home technology, the excitement was palpable, but so was the overwhelm. I envisioned a seamless home where I could control everything from the ambient lighting to the thermostat—just with a few simple commands. However, the path to that dream came with its fair share of challenges.
This guide is tailored for DIYers eager to take control of their homes through technology. You can expect to learn about the right tools, best practices, and some common mistakes to avoid. With this knowledge, you’ll be equipped to set up your smart devices safely and effectively, ensuring your home automation journey is as smooth as possible.
Method Overview
We’ll take a hands-on approach here, honing in on the essential tools you need for both indoor and outdoor projects. Trust me, having the right tools not only simplifies your tasks but also reduces stress. However, remember that this isn’t a one-size-fits-all solution. If you’re not comfortable with basic electrical work or network setup, it might be wise to reconsider tackling certain projects solo.
Deep Step Detail
Here’s a step-by-step breakdown of building an effective toolkit for your smart home projects. We’ll cover tools for setting up devices, maintaining your systems, and even some outdoor applications.
- Assess Your Needs: Start by pinpointing what areas of your home you want to automate. Are you focusing on lighting, security, heating, or something else? Knowing your focus will help you choose the right devices and tools.
- For example, if you want to automate your outdoor lighting, think about smart bulbs, an outdoor smart hub, and maybe a weather-resistant extension cord to keep everything tidy and safe.
- Gather Basic Tools: Here’s a list of essential tools you should have on hand:
- A quality screwdriver set (including both Phillips and flathead)
- Wire cutters and strippers for those pesky cables
- A multimeter for electrical testing, which is a must-have for any DIYer
- A power drill with bits that can handle various materials, from wood to drywall
- A tape measure for accurate installations
- Your smartphone for app installations and configurations
- A laptop or tablet for managing devices and software updates
Most DIYers I come across forget to keep their tools organized. Investing in a tool chest or a portable toolbox can save you countless minutes of frustration when you need to locate the right tool quickly.
- Select Your Smart Devices: Choose smart devices that are compatible with one another. It’s essential to check if they operate on the same hub or ecosystem—like Google Home, Amazon Alexa, or Apple HomeKit. This compatibility can save you a lot of headaches down the road.
- I remember once buying a smart thermostat that simply wouldn’t connect to my existing hub, costing me a few hours of troubleshooting before I realized my mistake.
- Plan Your Layout: Before you start installing, sketch out a plan for where devices will go. This visualization helps you ensure adequate coverage for Wi-Fi signals, especially for outdoor devices that may be farther from your router.
- Keep in mind that smart devices often require a stable Wi-Fi connection, so consider your router's placement and any potential dead zones where signals might falter.
- Install Your Devices: Follow the manufacturer’s instructions meticulously. For lighting, swapping out a bulb is usually straightforward, but for more complex devices like security cameras, you might need to drill holes for mounting.
- Safety is paramount here. Always turn off power at the circuit breaker when working with electrical components. Double-check with a multimeter to ensure there’s no live current before touching any wires.
- Test Everything: Once installed, it’s crucial to test each device to confirm it’s functioning correctly and communicating with your hub. This step is essential in catching issues before they become larger problems.
- I once skipped this step and ended up uninstalling a device because it wasn’t set up correctly. Trust me, dedicating time to testing is well worth it.
Troubleshooting & Fix-ups
Even the best-laid plans can go awry, so let’s discuss common issues and how to resolve them. Here are some troubleshooting tips I’ve picked up over time:
- Device Not Connecting: If a device won’t connect to your network, first check your Wi-Fi signal strength. If it’s weak, consider moving your router or adding a Wi-Fi extender. Sometimes, simply restarting the device and your router can work wonders.
- App Not Responding: Occasionally, the app you’re using to control your devices might freeze or crash. Ensure it’s updated to the latest version; if that doesn’t help, try uninstalling and reinstalling the app.
- Intermittent Failures: If devices are dropping off the network, interference from other electronics could be the culprit. Changing the channel on your router or relocating devices to minimize interference often resolves this.
- Incorrect Configurations: If a device isn’t behaving as expected, revisit the setup instructions to ensure all settings align with your preferences. Don’t overlook the basics!
Common Mistakes & How to Avoid Them
In my years of DIYing, I’ve witnessed several rookie mistakes that can lead to wasted time and money. Here are a few of the most common blunders and how to avoid them:
- Ignoring Compatibility: Always double-check that your devices will work together. I’ve lost countless hours trying to make different brands communicate before realizing they weren’t designed to be compatible.
- Skipping Network Security: Protect your network credentials. I once had a neighbor’s smart device hijacked because they didn’t secure their Wi-Fi. Follow best practices for device pairing and network security to keep your home safe.
- Overloading Circuits: When adding multiple smart devices, be mindful of electrical load. It’s easy to overload circuits, especially with outdoor lighting. If you’re uncertain, consult a professional before proceeding.
- Neglecting Updates: Many people forget to regularly update their devices and apps. Keep in mind that updates often include critical security patches that protect your system from vulnerabilities.
- Not Testing Before Finalizing: I can’t emphasize this enough: always test devices before finalizing your setup. It saves you from the hassle of uninstalling and reinstalling later.
Pro Tips & Lessons Learned
Here are some handy tips I’ve gathered over the years that can save you time and trouble:
- Label Your Cables: For easier troubleshooting later, label all your cables and connections. This little trick can save you from confusion when adjustments are necessary.
- Keep a Backup: Always back up your important configurations and settings. If a device fails, having a backup can help you restore it quickly and effortlessly.
- Consider Phasing Projects: If you’re on a budget, think about phasing your projects. Start with the most essential devices and add on as you go. This approach allows for flexibility while keeping costs manageable.
- Join Online Communities: Engaging with online DIY communities can provide invaluable insights and troubleshooting help. You’ll find others who have faced similar challenges and can share solutions.
Budget & Time Signals
When budgeting for your smart home projects, costs can vary significantly based on your needs. Here’s a rough breakdown:
- Basic Tools: Expect to spend around $100-$200 for essential tools, like screwdrivers, wire cutters, and a multimeter.
- Smart Devices: Depending on the type of devices you choose, costs can range from $50 for smart bulbs to $300+ for security systems or smart thermostats.
- Installation Costs: If you hire someone for installation, budget for an additional $50-$100 per hour, depending on the complexity of the work.
Factors that can drive costs up include the number of devices, the complexity of your setup, and whether you need additional tools or services. Remember, you don’t have to tackle everything at once. Prioritize the projects that will have the biggest impact.
When to Call a Pro
As much as I enjoy a good DIY challenge, there are times when calling in a professional is the wisest choice. Here are some clear thresholds to keep in mind:
- Complex Electrical Work: If you’re uncertain about electrical wiring or your project involves high voltage, it’s best to consult an electrician who can handle it safely.
- Network Setup Issues: If your devices consistently fail to connect or if you’re facing complex network configurations, a tech-savvy friend or a professional can be invaluable.
- Security Concerns: If you’re setting up a security system and feel uneasy about any part of the process, don’t hesitate to reach out to a pro. Security is paramount, and it’s always better to be safe than sorry.
Conclusion
Embarking on your smart home journey can be both thrilling and intimidating. By equipping yourself with the right tools, understanding common pitfalls, and being willing to learn from mistakes, you can create a home that works seamlessly for you. Remember, it’s perfectly okay to seek help when needed and to take your time with each project.
So, what’s your next step? Start by assessing your current needs and compiling a list of the tools and devices you’ll require. Take it one step at a time, and before you know it, you’ll have a smart home that feels custom-designed just for you. Happy DIYing!
Recommended Gear
Disclosure: As an Amazon Associate, we may earn from qualifying purchases at no extra cost to you.
Common Mistakes
- Ignoring device compatibility leading to connectivity issues.
- Skipping network security, risking unauthorized access.
- Overloading electrical circuits with too many devices.
- Neglecting to update devices and apps regularly.
- Failing to test devices before finalizing installation.

)