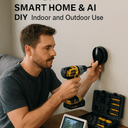
Beginner's Guide to Safety Gear for Smart Home & AI DIY on a Tight Budget (Winter, December)
)
Tools Needed
Materials Needed
Safety Tips
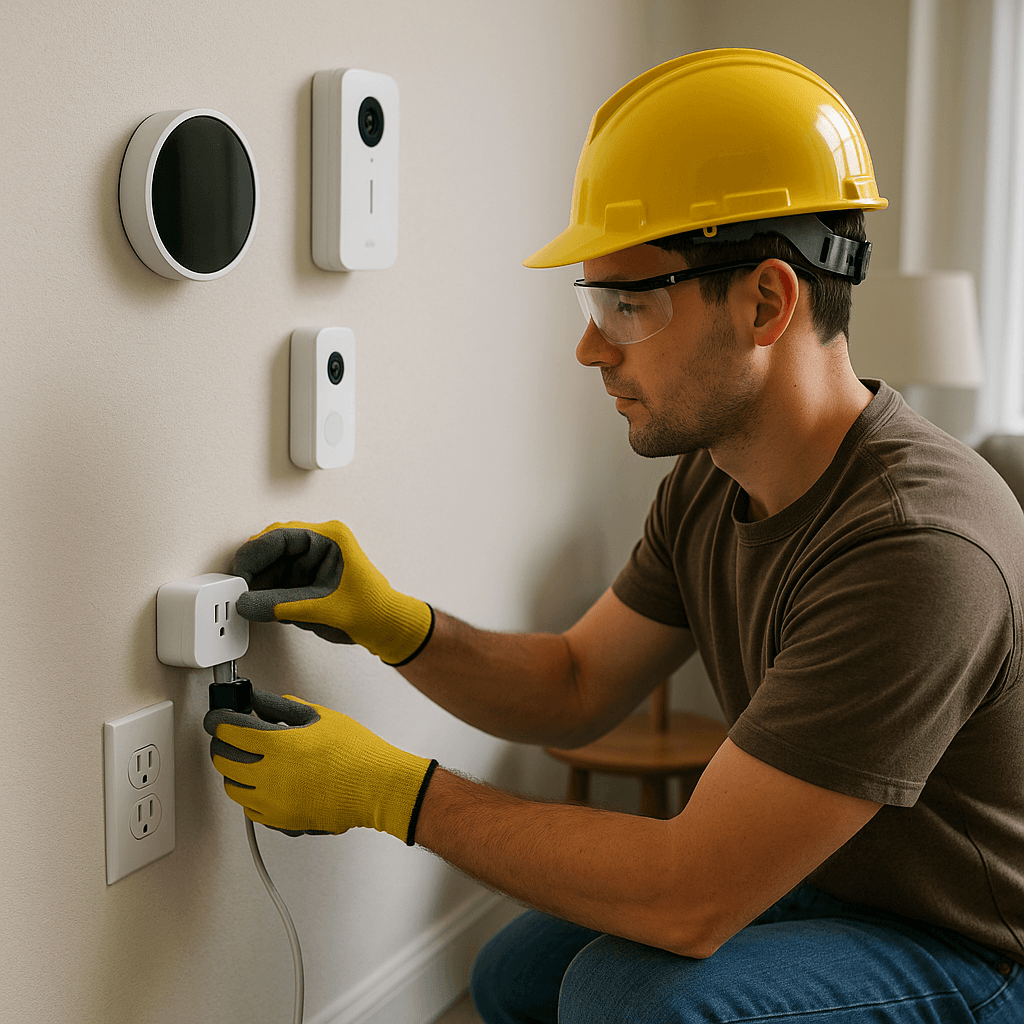
- Always wear safety gear, even for small tasks.
- Read and follow all safety labels on tools and materials.
- Test electrical circuits before working on them.
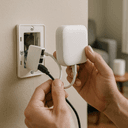
- Do not overload electrical outlets to prevent fires.
- Know your limits and consult professionals for complex electrical work.
- Keep your fire extinguisher accessible and check its rating.
- Maintain good ventilation when working with dust or fumes.
- Stop work immediately if you experience electrical shock and seek help if needed.
Beginner's Guide to Safety Gear for Smart Home & AI DIY on a Tight Budget
As the winter months roll in, many of us find ourselves spending more time indoors, dreaming of the smart home of our future. Whether you're just starting out with a few smart bulbs or diving headlong into a full-fledged home automation system, safety should always be high on your list of priorities. This guide is designed for DIYers like you who want to integrate smart devices and home automation without breaking the bank. With a little planning and the right safety gear, you can transform your home into a high-tech haven while keeping yourself and your devices safe.
Before we dive into the nitty-gritty of safety gear, let’s talk expectations. You might be wondering, "How much safety gear do I really need?" or "Can I do this on a budget?" The answer is yes! You don’t have to spend a fortune to ensure your DIY project is safe. I remember when I first started, I thought I needed the latest high-tech gear, but I quickly learned that a few basic items were all I really needed. So, let’s get started!
Method Overview
In this guide, we’ll look at the essential safety gear every DIYer should have when working on smart home projects. We’ll cover why each piece of gear is important, how it can protect you, and when it might not be necessary. This approach works because it emphasizes practical, real-world safety while keeping costs low. You don’t need to buy every gadget out there; you just need the right ones for your specific projects.
However, if you’re planning to do extensive electrical work or if you're not comfortable with wiring, you might want to rethink your approach. In those cases, it’s better to consult a professional. Knowing your limits is just as important as having the right gear.
Deep Step Detail
Let’s break this down into actionable steps. Here’s a rundown of the safety gear you should consider for your smart home projects:
1. Safety Glasses
Safety glasses are a must-have. They protect your eyes from dust, debris, and any accidental splashes from adhesives or paints. I can’t tell you how many times I've had a small piece of wire fly into my eye while I was working on a project. It’s no fun, trust me. You can pick up a decent pair for around $10-$20. Look for ones that have side shields for extra protection; they can make a world of difference!
2. Gloves
A good pair of work gloves can save your hands from cuts, scrapes, and electrical shocks. I recommend using rubberized gloves when working with anything electrical. They provide an extra layer of protection. Look for gloves that fit well and allow for dexterity—nothing worse than fumbling with your tools because your gloves are too bulky. You can find suitable options for $15 or less.
3. Dust Masks
If you’re cutting materials or working with anything that creates dust, a dust mask is essential. Not only does it keep your lungs safe, but it also makes for a more comfortable working environment. I remember the first time I tried to sand down some old wood without wearing a mask—I was coughing for days! Look for a mask that has a good fit and is rated for dust and particulates. You can usually get these for about $5-$10.
4. Fire Extinguisher
This one is often overlooked, but having a fire extinguisher nearby is crucial, especially when dealing with electrical equipment. Make sure it’s rated for electrical fires (look for an ABC rating) and check that it’s within easy reach. I keep mine mounted near my workspace. You can typically find a decent extinguisher for $30-$50. It’s a small price to pay for peace of mind.
5. First Aid Kit
Accidents happen, and having a first aid kit within reach can make a big difference. Stock it with band-aids, antiseptic wipes, and other essentials. I’ve had my fair share of small cuts while working on projects, and it’s nice to have a kit handy. You can get a basic kit for around $15-$25. A quick tip: consider adding some gauze and medical tape for those slightly bigger mishaps.
6. Electrical Tester
An electrical tester helps you verify whether a wire is live, which is critical before you start working on any electrical component. It’s a simple tool that can prevent serious accidents. I learned this the hard way when I neglected to check a wire and got quite the shock! You can find a good one for about $10-$30. If you’re not sure which one to get, look for a non-contact voltage tester—these are user-friendly and perfect for beginners.
Troubleshooting & Fix-ups
Even with the best safety gear, things can go wrong. Here are some common issues you might run into and how to handle them:
- Electrical Shock: If you feel a shock, stop what you’re doing immediately. Check your electrical tester to see if wires are live before proceeding. If you’re unsure, call a professional.
- Cuts and Scrapes: If you get a cut, clean it immediately with antiseptic and cover it. If it’s deep, don’t hesitate to seek medical attention. Keeping a first aid kit nearby can make this process much smoother.
- Fire: If a fire starts, use your fire extinguisher. If it’s too big, evacuate immediately and call the fire department. Remember, safety first—don’t try to be a hero!
- Dust Exposure: If you find yourself coughing or having difficulty breathing, take a break and step outside for fresh air. Make sure your workspace is well-ventilated and consider using a fan to help clear the air.
Common Mistakes & How to Avoid Them
In my experience, many DIYers make a few common mistakes when it comes to safety. Here are some things to watch out for:
- Neglecting Safety Gear: Many people think they can skip the gloves or goggles for just a quick task. Don’t do it! Always wear your gear, even for small jobs. I learned this the hard way after a minor injury that could have been prevented.
- Ignoring Warning Labels: Always read the safety labels on your tools and materials. I’ve made the mistake of assuming I knew how to use something without reading the instructions first, and it bit me.
- Forgetting to Test Electrical Circuits: Always test wires before working on them. It’s easy to assume they’re safe, but that’s a dangerous mindset. Make it a habit to test first, then proceed.
- Not Having a Plan: Before starting any project, have a clear plan and know what tools you’ll need. I once jumped into a project without thinking it through and ended up making multiple trips to the hardware store. Save yourself the hassle!
- Overloading Circuits: Be cautious about how many devices you plug into a single outlet. This can lead to overheating and fires. Spread your devices out across multiple outlets and use a power strip with surge protection if necessary.
Pro Tips & Lessons Learned
Here are some additional tricks that can save you time and frustration:
- Invest in Multi-Tools: A good multi-tool can save you space and money on various safety gear. Look for one that includes a knife, screwdriver, and pliers—these come in handy more often than you'd think.
- Label Your Tools: Especially when working with multiple devices, labeling your tools and materials can save you time. I’ve wasted so much time looking for the right screwdriver! A simple label maker can save you this hassle.
- Practice Safe Habits: Make it a habit to turn off power at the breaker box before starting any electrical work. This simple step can prevent accidents.
- Keep a Checklist: Having a checklist for safety gear before you start a project can help you remember everything. I keep mine on the fridge so I can grab it easily.
- Stay Organized: Keeping your workspace tidy reduces the risk of accidents. I always clean up as I go, which also helps me focus better on the task at hand.
Budget & Time Signals
Let’s talk about costs. Here’s a breakdown of what you can expect:
- Safety Glasses: $10-$20
- Gloves: $15 or less
- Dust Masks: $5-$10
- Fire Extinguisher: $30-$50
- First Aid Kit: $15-$25
- Electrical Tester: $10-$30
In total, you’re looking at a budget of approximately $85-$155. Depending on what you already have, these costs can go down significantly. Keep in mind that investing in safety gear may seem like a lot upfront, but it pays off in the long run by preventing accidents and injuries.
Time Considerations
When you’re budgeting time for your DIY projects, consider a few factors:
- Research: Spend time researching safety gear and best practices. It’s better to be informed than to rush in unprepared.
- Setup: Allow time for setting up your workspace safely before diving into the actual work. A little preparation goes a long way.
- Breaks: Don’t forget to take breaks to assess your progress and ensure safety. Fatigue can lead to mistakes, so listen to your body.
When to Call a Pro
There are times when it’s best to step back and call in a professional. Here are some clear thresholds:
- Complex Electrical Work: If the project involves complicated wiring or if you’re unsure about local codes, it’s best to consult an electrician. Don’t risk it!
- Major Renovations: When your project involves structural changes or major plumbing, it’s wise to involve a pro.
- Fire Hazards: If you’re unsure about the safety of your electrical setup, don’t hesitate to call for help. It’s better to be safe than sorry.
- Health Issues: If you have a medical condition that could affect your ability to work safely, consider hiring someone to do the job. Your health is paramount.
Conclusion
Navigating the world of DIY smart home projects can be both exciting and challenging. By equipping yourself with the right safety gear and knowledge, you can tackle your projects confidently and safely. Remember, safety is not just about wearing gear; it's about developing good habits and knowing your limits.
As you embark on your next project, I encourage you to take one simple step today: gather your safety gear and make a checklist. This small action can set you on the path to a successful and safe DIY experience. You’ve got this!
Recommended Gear
Disclosure: As an Amazon Associate, we may earn from qualifying purchases at no extra cost to you.
Common Mistakes
- Skipping safety gear for quick tasks.
- Ignoring warning labels and instructions.
- Failing to test electrical circuits before starting work.
- Starting projects without a clear plan or proper tools.
- Overloading electrical outlets causing overheating.
- Neglecting workspace organization leading to accidents.
More in Smart Home