How to Cleaning Essentials for Smart Home & AI DIY to Prep for Spring (Winter, December)
)
Tools Needed
Materials Needed
Safety Tips
- Always power down and unplug devices before cleaning to prevent damage or electrical hazards.
- Use only 70% isopropyl alcohol and avoid harsh chemicals that can damage screens and plastics.
- Do not soak cloths; use lightly dampened cloths to avoid moisture damage.
- Allow devices to dry completely before reconnecting or powering on.
- Hold compressed air canister upright and use short bursts to prevent moisture buildup.
Before You Start / What to Know Up Front
Cleaning and prepping your smart home for spring can feel like a monumental task, especially after a long winter. I remember the first time I tackled this project; I underestimated how much dust and grime would accumulate in the corners of my smart devices and home automation systems. It’s crucial to understand that these devices, while convenient, can easily become dust magnets. This guide will help DIYers integrate smart devices and home automation into their cleaning routine, ensuring a smoother experience.
In this article, you’ll learn step-by-step how to clean and maintain your smart devices effectively, ensuring they work optimally as the warmer months roll in. Expect to spend a few hours on this project, depending on the number of devices you have. By the end, you’ll not only have a cleaner home but also a better-functioning smart setup. Let’s dive in!
Method Overview
We’re taking a systematic approach to cleaning your smart home. This means breaking down the process into manageable steps, focusing on each device type, and ensuring we cover all the bases—from your smart speakers to your security cameras. This method works because it allows you to focus on one device at a time, reducing the chance of missing something important. Just keep in mind, if you have a large number of devices or are dealing with complex integrations, this method may take longer than expected, so be patient and don’t rush through it.
Deep Step Detail
1. Gather Your Supplies
Before diving in, gather all the necessary cleaning supplies. Here’s what you’ll need:
- Microfiber cloths: These are gentle and won’t scratch your devices.
- Compressed air canister: Perfect for blowing dust out of hard-to-reach areas, especially in gadgets like smart hubs.
- Isopropyl alcohol: Use a 70% solution for disinfecting surfaces without leaving behind residue.
- Cotton swabs: Great for cleaning small crevices, such as around buttons and ports.
- Vacuum cleaner with a brush attachment: To remove dust from larger areas around your devices.
- Soft-bristle brush: Ideal for gently brushing off dirt from surfaces.
Having these tools at your disposal makes the cleaning process smoother and more efficient, trust me; it saves you from running around the house mid-task.
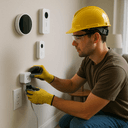
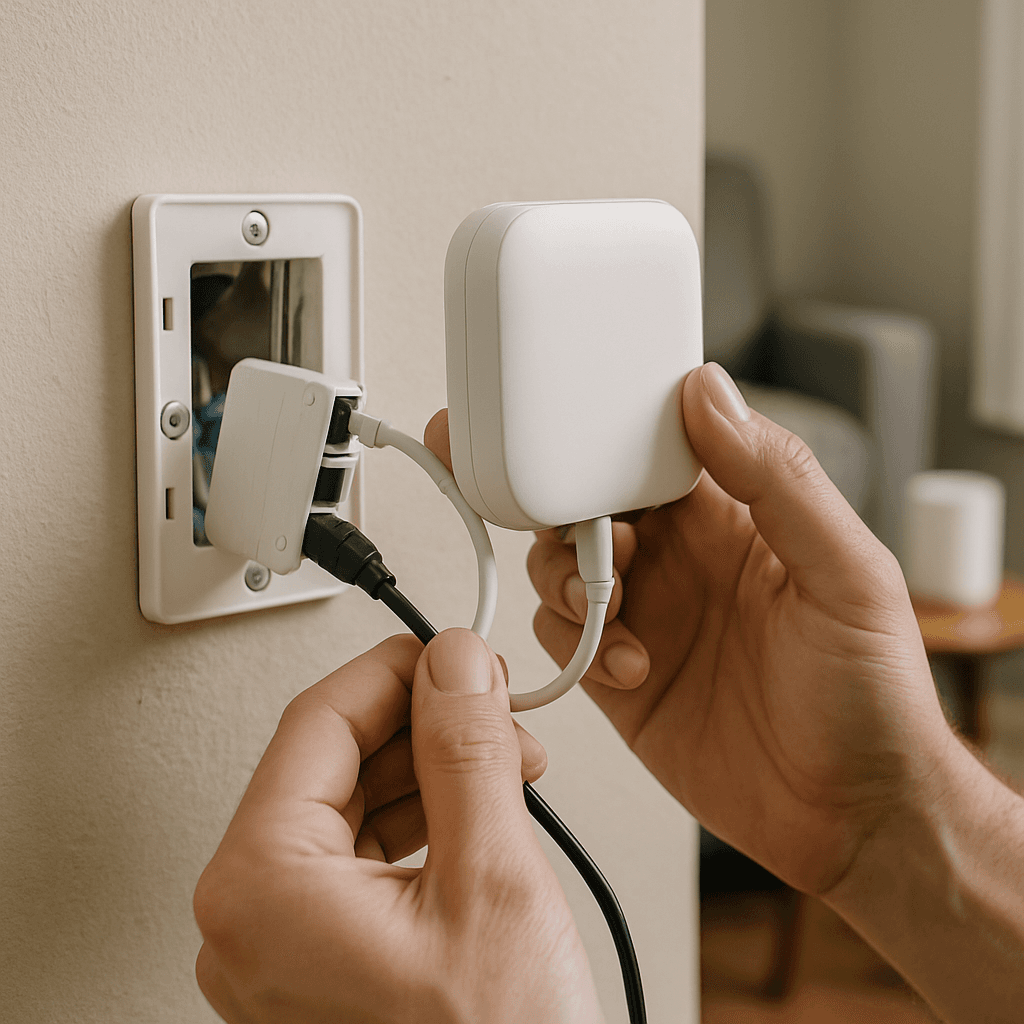
2. Power Down Your Devices
It might seem straightforward, but many DIYers forget this crucial step. Before you start cleaning, power down your devices. This protects them from potential damage and ensures your safety. For devices connected to a wall outlet, unplug them; for rechargeable devices, simply turn them off. I learned the hard way that forgetting this step could lead to unwanted interruptions or even accidental resets.
3. Dusting and Wiping
Start with dusting. Use a microfiber cloth to wipe down the exterior of your devices, including smart speakers, displays, and cameras. For devices with screens, make sure you’re using a cloth that won’t scratch. Dust can accumulate quickly, and a clean device not only looks better but helps it function better.
Next, dampen another microfiber cloth with a bit of isopropyl alcohol (remember, not soaking) and wipe the surfaces to disinfect. This step is especially important for devices like smart thermostats or doorbells that may be frequently touched. The first time I did this, I was amazed at how much grime came off!
4. Cleaning Crevices
Use cotton swabs dipped in isopropyl alcohol for those tricky nooks and crannies. This is where dust loves to hide! Pay special attention to ports and buttons on your devices. If you have a smart speaker, don’t forget to clean around the microphone area, as dust can impact its ability to hear commands. Most DIYers I see often overlook this step, but it can make a world of difference.
5. Compressed Air for Tech
For devices that have vents or fans, use a compressed air canister to blow out dust. This is especially important for smart home hubs and any device that generates heat. Hold the canister upright and use short bursts to avoid moisture buildup, which can damage electronics. This step can significantly extend the lifespan of your devices. I once neglected this with my smart thermostat, and it started overheating; a quick blast of air would have saved me a headache.
6. Vacuuming
After you’ve cleaned each device, it’s time to vacuum the area around them. Use a vacuum cleaner with a brush attachment to gently remove dust from the surfaces and corners where your devices sit. Keeping the area clean helps prevent dust from accumulating on your devices again. I usually keep a small handheld vacuum for quick clean-ups; it makes this step much easier!
7. Reconnect and Test
Now that everything is clean and dry, replug your devices and power them back on. Check that they’re functioning correctly. Take a few moments to test voice commands or any functionality that might have been affected during the cleaning process. It’s easy to overlook this step, but I’ve found that ensuring everything works as it should saves a lot of frustration later.
Troubleshooting & Fix-ups
Even with the best intentions, things can go wrong. Here are some common issues you might encounter:
- Device Not Responding: If your smart speaker isn’t responding after cleaning, ensure it’s plugged in and powered on. Sometimes, a simple restart helps.
- Screen Issues: If a screen looks foggy after cleaning, it might be due to excess moisture. Give it some time to dry completely; if it persists, you may need to clean it again with a dry cloth.
- Dust Buildup Returns Quickly: If you find dust accumulating too quickly, consider repositioning your devices away from open windows or high-traffic areas, or invest in a small air purifier to help reduce dust levels in your home.
Common Mistakes & How to Avoid Them
From my experience, here are some common pitfalls DIYers face while cleaning their smart devices:
- Using Harsh Chemicals: Many people think that stronger cleaning agents will do a better job, but this can actually damage screens and plastics. Stick with isopropyl alcohol and gentle cleaners.
- Overlooking Cable Management: Forgetting to clean behind devices can lead to dust buildup that impacts functionality. Make it a habit to check cables and connectors periodically. I’ve seen devices fail simply because of a dirty port that could’ve been avoided.
- Not Allowing Devices to Dry: If you clean with a damp cloth, make sure everything is completely dry before plugging it back in. Moisture can cause electrical issues, and trust me—this is a mistake you want to avoid.
- Rushing the Process: Cleaning your smart home is not a race. Take your time to ensure you’re thorough. Rushing can lead to missed spots or, worse, damage to your devices.
Pro Tips & Lessons Learned
Here are some of my favorite tips that can save you time and frustration:
- Schedule Regular Cleanings: I’ve found that setting a seasonal cleaning schedule helps keep everything in check. It’s much easier to maintain than to let dust pile up and do a deep clean.
- Use a Labeling System: When reconnecting devices, consider labeling cords or using colored tape. This makes it easier to identify which cord belongs to which device, saving time in the future. I’ve spent too long untangling cords that could have been labeled!
- Invest in a Smart Cleaning Tool: For those who have a lot of devices, consider a smart vacuum that can help keep your spaces clean between deep cleanings. It’s a game-changer.
- Involve the Family: Make cleaning a family project! Get everyone involved to speed up the process and ensure no one gets left out of the cleaning fun.
Budget & Time Signals
Cleaning your smart home doesn’t have to break the bank. Here’s what to expect:
- Time Investment: Typically, set aside 2-4 hours depending on the number of devices. If you have a large smart home setup, you might need to allocate more time, so pace yourself and take breaks as needed.
- Cost: Most cleaning supplies are inexpensive, with a budget of $20-$50 for everything you need. You can often find these items at local retailers or online.
- Phased Approach: If you’re tight on time, consider breaking this project into phases. Clean a few devices each weekend instead of trying to tackle everything in one go. This way, it feels less overwhelming.
When to Call a Pro
While most of this cleaning process is manageable for DIYers, there are a few situations where calling a professional is the best option:
- Device Malfunction: If a device is malfunctioning, such as not connecting to Wi-Fi or not responding to commands after cleaning, it may need professional attention.
- Hardware Issues: If you notice physical damage, such as cracks or broken components, it’s best to consult a professional repair service. Don’t hesitate to reach out if you’re unsure.
- Complex Integration Problems: If your smart home setup is overly complex and you’re struggling to get everything back in sync, it may be worth reaching out to a smart home installation expert to save you time and frustration.
Conclusion
Cleaning your smart home for spring is a rewarding project that not only enhances the aesthetics of your space but also improves the functionality of your devices. By following these steps, you’ll be prepared to enjoy the warmer months without worrying about dust and dirt interfering with your smart technology. Remember, take your time, be thorough, and don’t hesitate to reach out for help if needed.
As a simple next step, start by gathering your cleaning supplies today. You’ll be surprised at the difference a clean space can make in how your smart home operates!
The Importance of Surface Preparation
Before diving into any cleaning task, it's crucial to prepare the surfaces properly for optimal results. For example, if you're cleaning smart home devices like your thermostat or smart speakers, ensure they are powered off to avoid any accidental activation. Use a microfiber cloth dampened with a 50/50 mix of water and white vinegar for non-porous surfaces. This mix not only cleans but also disinfects. I once went straight into cleaning without turning off my smart hub, only to end up triggering a series of unwanted notifications. Lesson learned: always power down first!
Cleaning Your Smart Devices
When cleaning screens or surfaces of devices, utilize a gentle touch. Press too hard, and you risk damaging the screen or pushing debris into sensitive areas. A soft brush can help remove dust from tricky spots. I’ve found that using a cotton swab dipped lightly in isopropyl alcohol is effective for getting into tight corners without risking damage.
Mini Case Study: The Dusty Smart Speaker
A friend of mine once neglected to clean his smart speaker, which led to audio distortion due to dust buildup. When he finally got around to it, he used a wet cloth and inadvertently caused it to short-circuit. The fix? He allowed it to dry completely for 48 hours, then restored functionality by resetting the device per the manufacturer’s instructions. It’s a reminder of how important it is to approach cleaning with care.
Pro Tips for a Smooth Cleaning Process
- Set a Timer: To avoid rushing and missing spots, set a timer for each task. This can help maintain focus and ensure thorough cleaning.
- Use Compressed Air: For hard-to-reach areas, a can of compressed air can be a lifesaver. Just be sure to hold it upright to avoid any liquid propellant escaping.
- Follow the Manufacturer's Guidelines: Always refer to user manuals for specific cleaning advice to avoid voiding warranties.
Recommended Gear
Disclosure: As an Amazon Associate, we may earn from qualifying purchases at no extra cost to you.
Common Mistakes
- Using harsh chemicals that damage devices.
- Overlooking cable management leading to dust buildup in ports.
- Not allowing devices to dry before powering them back on.
- Rushing the cleaning process and missing spots or causing damage.
More in Smart Home